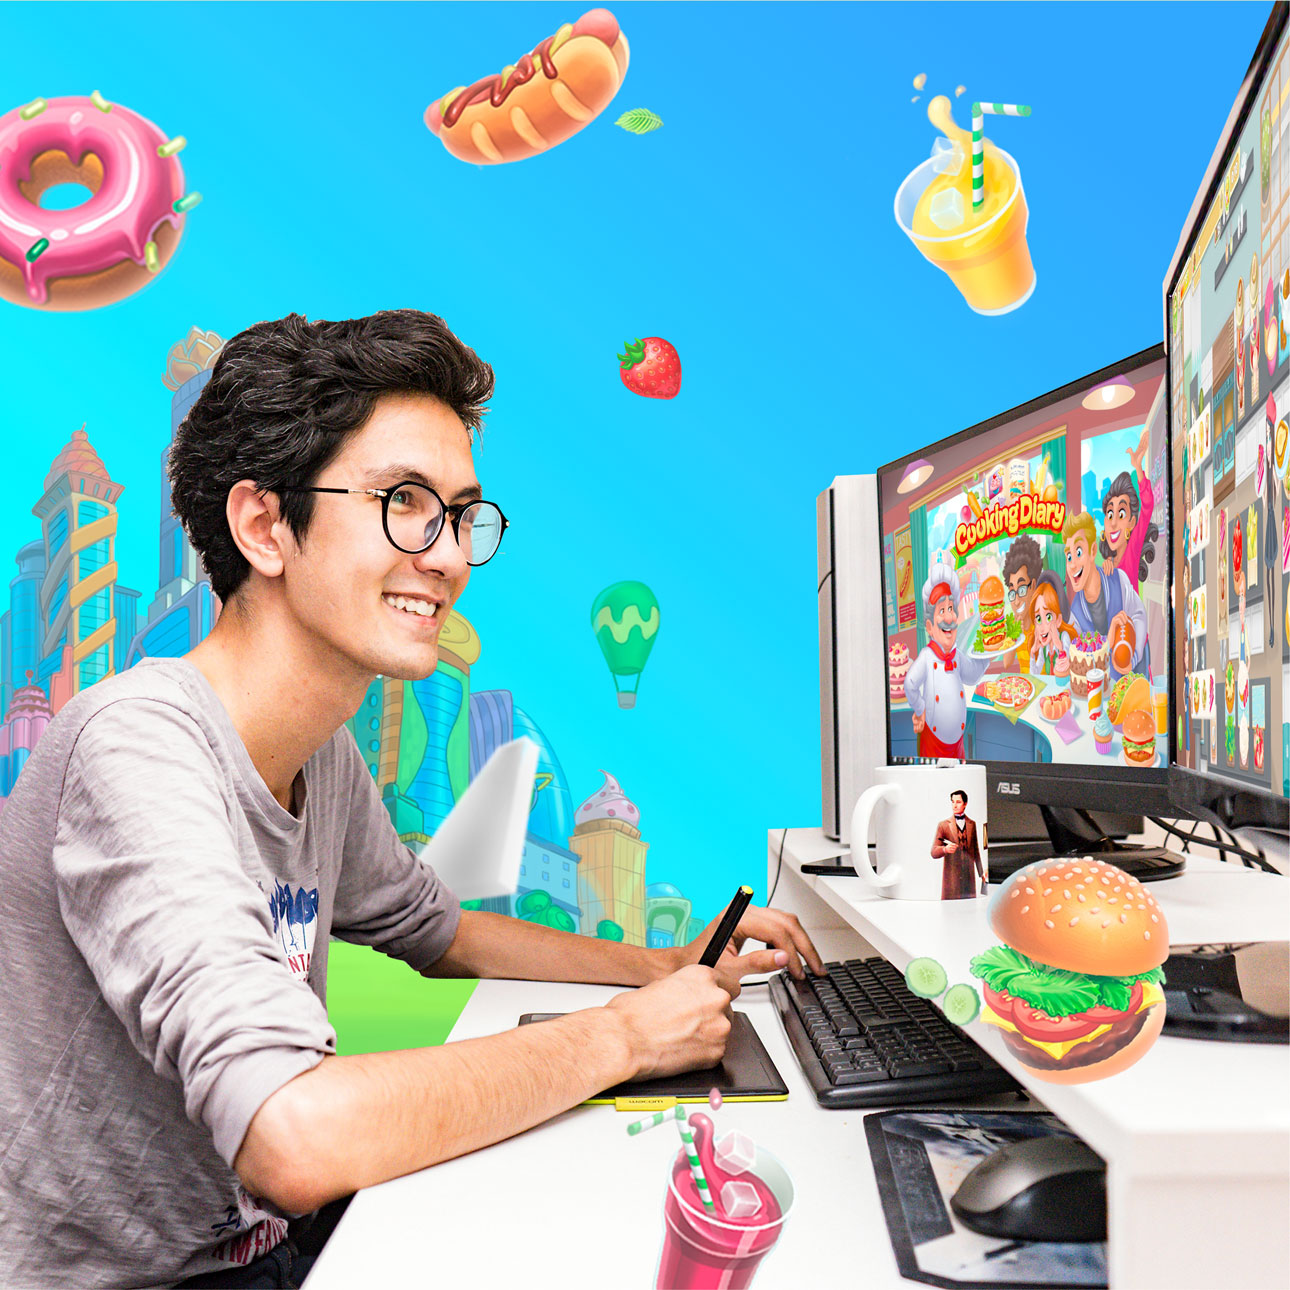
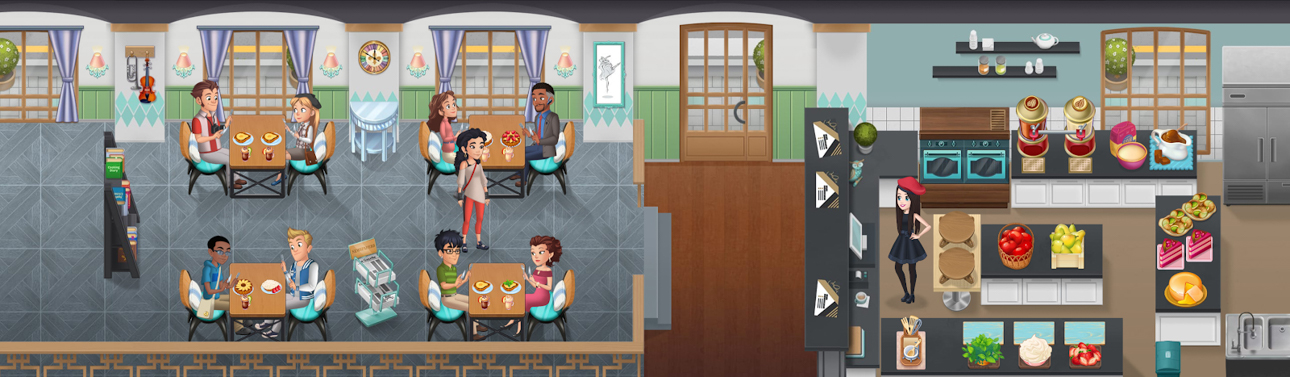
Today we're going to lift the veil on the development “kitchen” of our culinary project Cooking Diary, which has been downloaded by over 21 million people and is now one of the top-grossing time management games:
TOP 55 Grossing Games iPhone USA
TOP 61 Grossing Games iPhone Korea
TOP 85 Grossing Games Google Play USA
In this article, we will share our experience in creating culinary masterpieces for our game. Currently, players can own more than 50 different restaurants: from a burger joint to a molecular gastronomy restaurant. Once they become chefs, they can cook about 200 dishes from various global cuisines. Let's take a look at how we came up with and created dishes for the Deja-Vu Culinaire restaurant. There's a sweet bonus awaiting you at the end of the article: a recipe for apple tarte Tatin!
Choosing a new restaurant. Development checklist
The development process for dishes always begins with choosing the restaurant's theme. First we create the new restaurant, then we pick a unique menu of dishes to transfer into the game's world. This process of transitioning from real recipes to in-game ones used to be quite long. After multiple iterations and through trial and error, we were finally able to find an optimal strategy. In short, the process of developing a new restaurant looks something like this:
1. Generating ideas and analyzing a cuisine
Before introducing a new restaurant into the game, the team gathers for some brainstorming. Game designers discuss what themes restaurants in a new district will have. After choosing a restaurant's theme, the content designer draws inspiration from the cuisine of a selected country and gets immersed in the atmosphere of the restaurant they are working on. They thoroughly study traditional dishes and search for original references using every available Internet resource.
2. Choosing a mechanic
One of the main features when creating a restaurant is the dish preparation mechanic. At this stage, dishes can change drastically. The game designer works closely with level designers to make the mechanic interesting and exciting.
3. Finding a color palette
Once the mechanic has been approved, suitable color schemes for dishes need to be found. We select references and draw prototypes of the menu.
Typically, the content designer consults with artists on this.
4. Final spec doc
After the color palette and cooking mechanic are approved, a detailed spec document for the new restaurant is finalized. We use this document to create design specifications for dishes. The spec doc must be comprehensive and understandable to all the Mytonians who will be involved: artists, programmers, balancers, level designers, and testers.
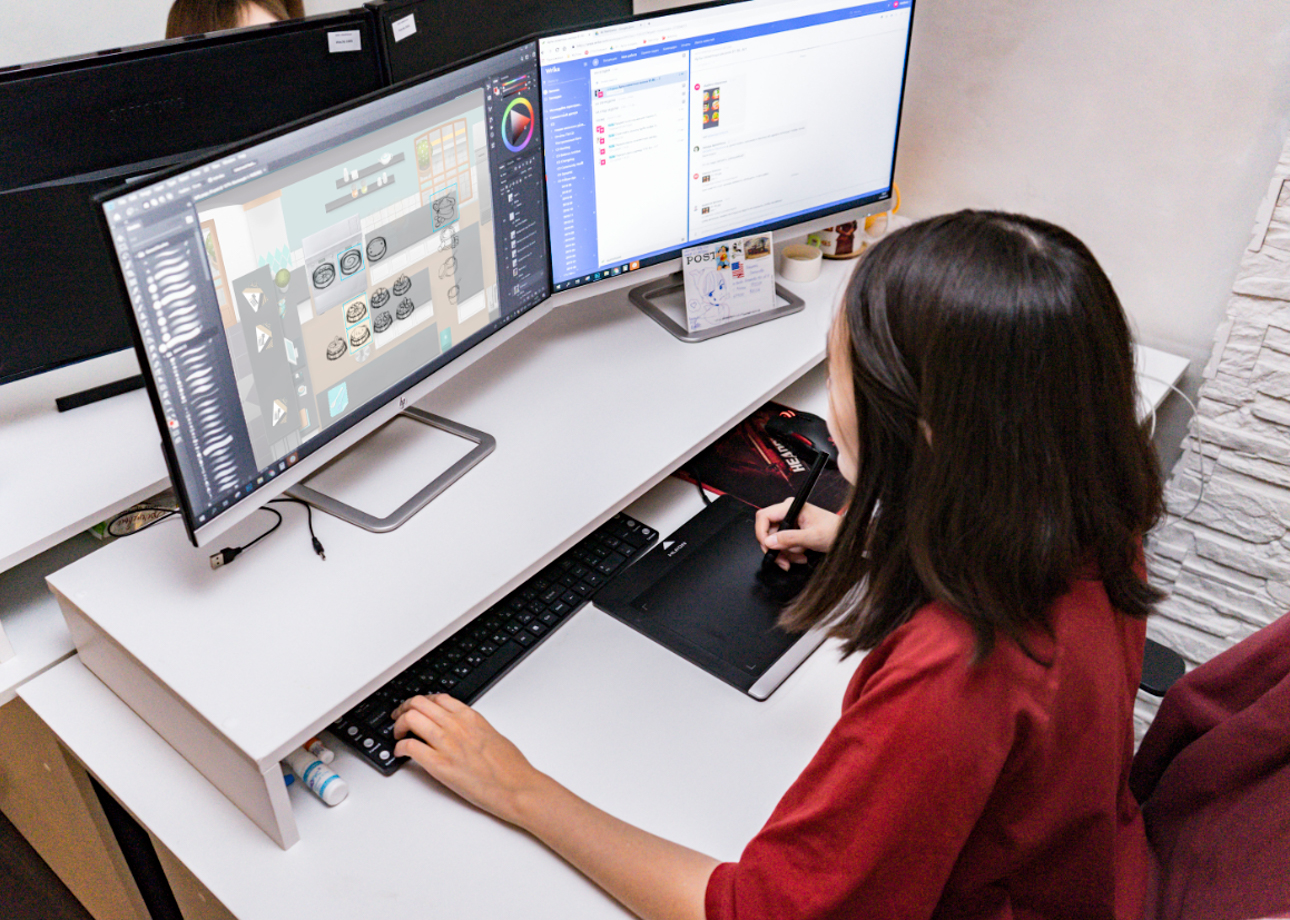
5. Creating dishes: from sketch to being served in a player's restaurant
The artist starts creating the dish after carefully studying the final spec doc and design specifications. First, they draw dish sketches, then draw all the artwork after the sketches are approved. At this point, feedback from the game designers and the art lead is taken into account. Once the dishes have been implemented into the game, we carefully monitor our players' reviews. Sometimes dishes may change and improve based on their feedback. Our most important culinary critics are our players!
Let's take a closer look at each development stage.
Generating ideas and analyzing a cuisine
Game designers study different world cuisines to find interesting ideas, and, of course, we take our players' wishes into account—what restaurants they would like to see in the game.
We try to delight our players by adding restaurants of different styles in Cooking Diary. This ensures that gameplay is always fun and players can cook any kind of dish imaginable.
Also, when choosing the main dish for each restaurant, we have to consider what dishes are served at neighboring Tasty Hills restaurants. They shouldn't repeat, as serving the same desserts or meat at three restaurants in a row would be boring.
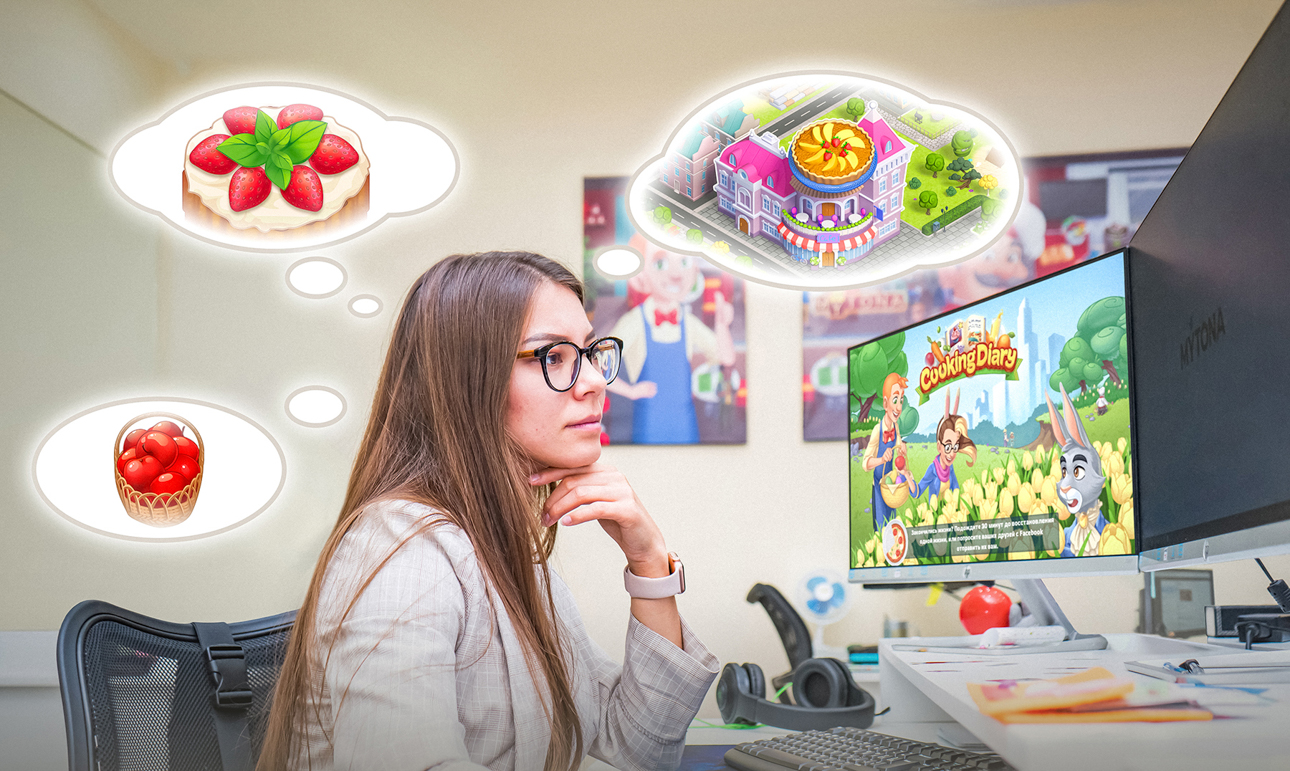
After choosing a restaurant, the content designer draws up a menu of dishes. For Deja-Vu Culinaire, we were inspired by French cuisine.
Obviously, the game designer is not familiar with every nuance of the cuisine; like everyone else, they know some general information and, possibly, stereotypical things that may turn out to be wrong. Therefore, the first thing the designer does is study all the possible sources that tell us what people in France cook. What can help us with this?
French restaurant websites. We can study their menus and find suitable dishes.
YouTube vlogs about France with French restaurant and food reviews. This is a pretty good source with real examples on video.
Recipe websites. We search for suitable French recipes. This lets us see how dishes are made step by step, and what the ingredients are.
Game designers try to find something striking and interesting that gives a restaurant unique character and makes it instantly recognizable to the player. Cooking Diary restaurants serve several main dishes, and sometimes it's quite difficult to find the right recipes.
Choosing a mechanic and finding a color palette
What we need to take into account when choosing a mechanic:
Technical limitations, if any
Visual limitations, if any
Conflicts with other mechanics
How it will affect players' perception
The cooking mechanic depends on the number of dishes (iterations). We try to change the order of cooking steps or arrange dishes differently in the kitchen.
It's important to find dishes that look good and whose ingredients can be combined with each other. You can add additional ingredients to them, and all this should look like a single unit. The main dish shouldn't look radically different before and after cooking: the player must intuitively understand what raw dish they need to use in order to get what a customer ordered.
The hardest part in the whole kitchen is the main dish. Once we decide what we will cook and how, we need good references: we can turn to the same sources we used at the beginning of the process.
The most important part of any restaurant is the color palette of the dishes, which in the future may seriously affect how the restaurant will appeal to players. At this stage, the game designer has to coordinate the artists' work and work together with them to find the right solutions.
Once we've decided on the color scheme for the main dish and ingredients—it's important that nothing blurs together—we move on to snacks and drinks. We make sure their colors are different from each other and from the main dish.
In total, there are 4 dish grades (upgrade levels) at the restaurants: from 0 to 3. Changes for each grade are described in the spec doc. They have to be easy to tell apart, but the dish's overall appearance shouldn't be overburdened with details from grade to grade, and all grades must use the same colors.
Final spec doc
Once the color palette and kitchen mechanic have been approved, we finalize a detailed spec for the new restaurant with a description of the menu.
For the Deja-Vu Culinaire restaurant, we decided on pies, which are dishes that French cuisine is known for. If we need a French dish, it has to be recognized worldwide as a dish from this particular country.
Pies look striking and appetizing, and meet our rules for choosing dishes.
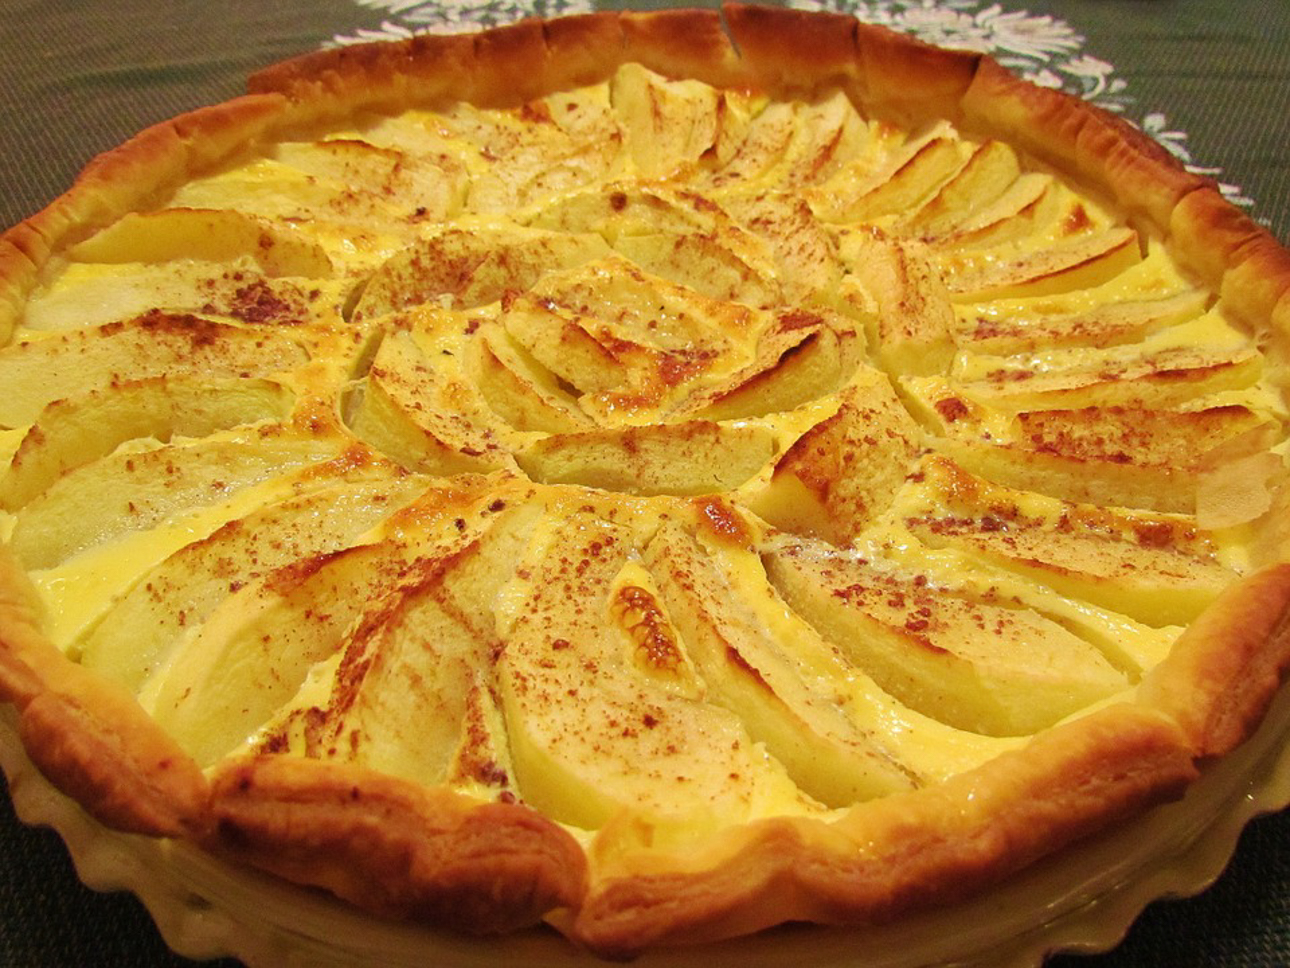
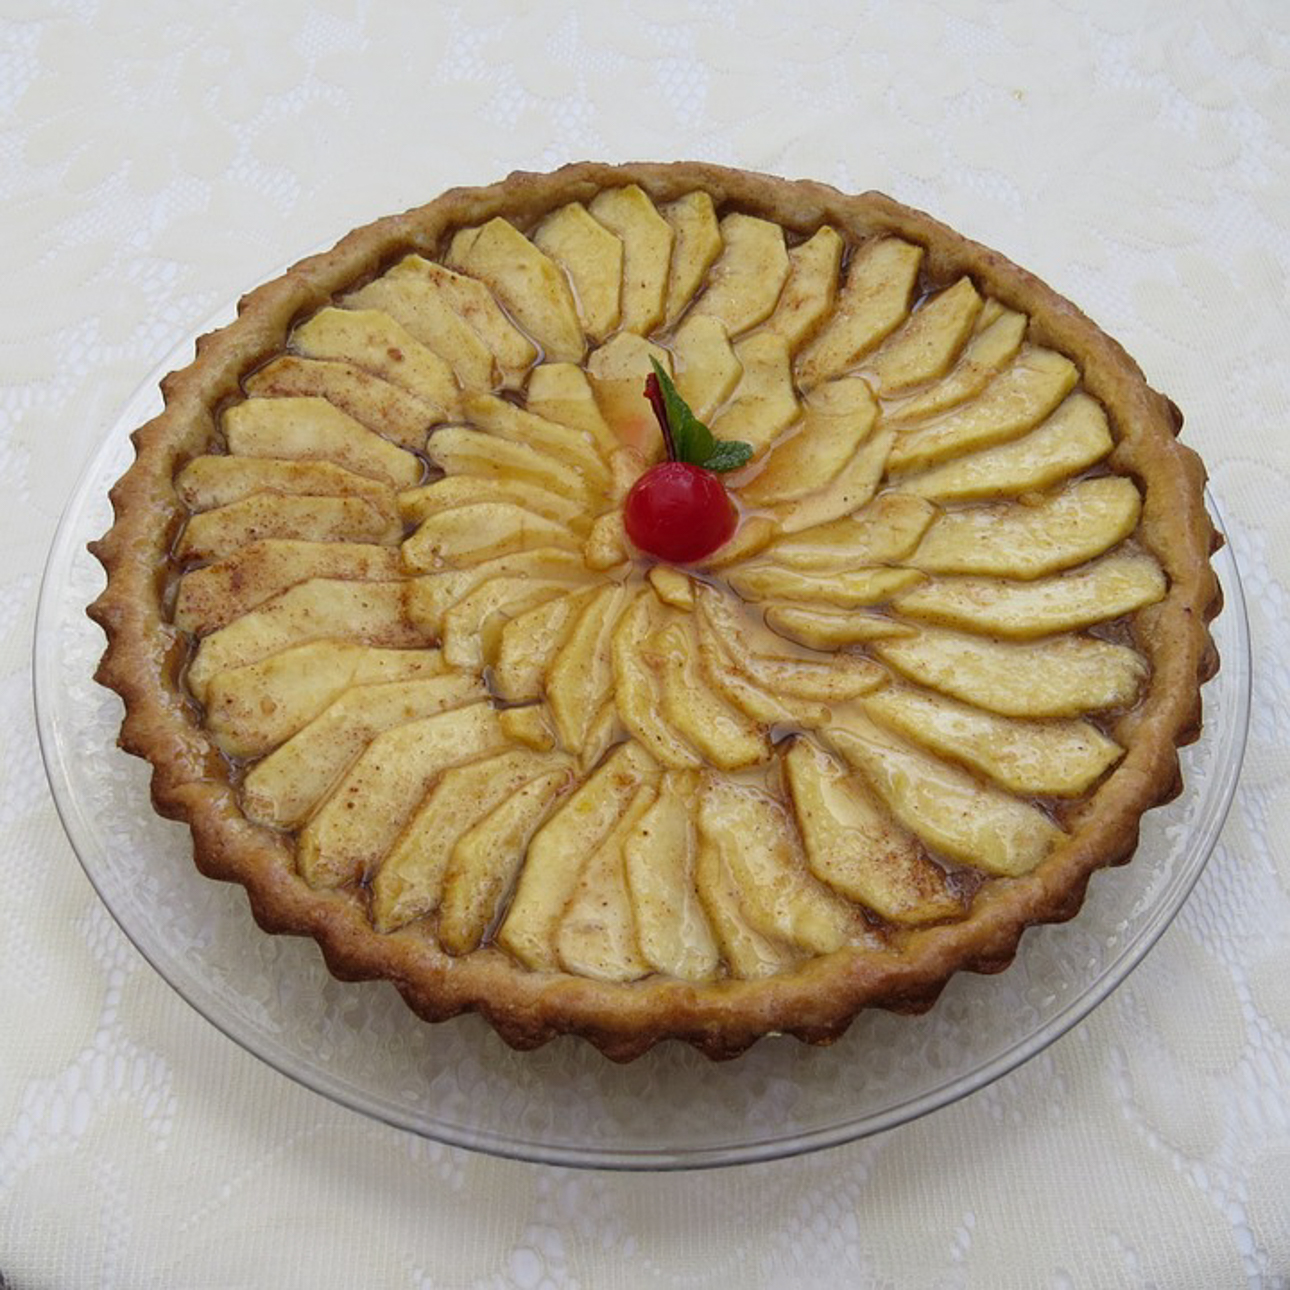
We chose apples as the main filling, as it's a traditional filling for the French tarte Tatin. Pears were chosen as a second filling, as we can use them to make a tarte with a different color and shape than the first one.
When selecting snacks, we studied the menus of various traditional French restaurants. Keeping the colors of the dishes in mind, we chose snacks with suitable colors and shapes. Drinks were chosen in exactly the same way.
So, keeping in mind the theme of our restaurant and the menus of neighboring restaurants, we come to the conclusion that a famous pie, tarte Tatin, would be the perfect French cuisine dish for us.
Here's what our final French restaurant menu looked like:
Main dish: apple tarte Tatin, pear tarte Tatin
Snacks: escargot, beet terrine, cheese
Ingredients: mint, strawberries, cream
Additional ingredients: dough, caramel, apples, pears
Drinks: hot black and white chocolate
Making the tarte Tatin. From sketch to final artwork
The game designer gives the artist the final design document with specifications and reference pictures of the dish.
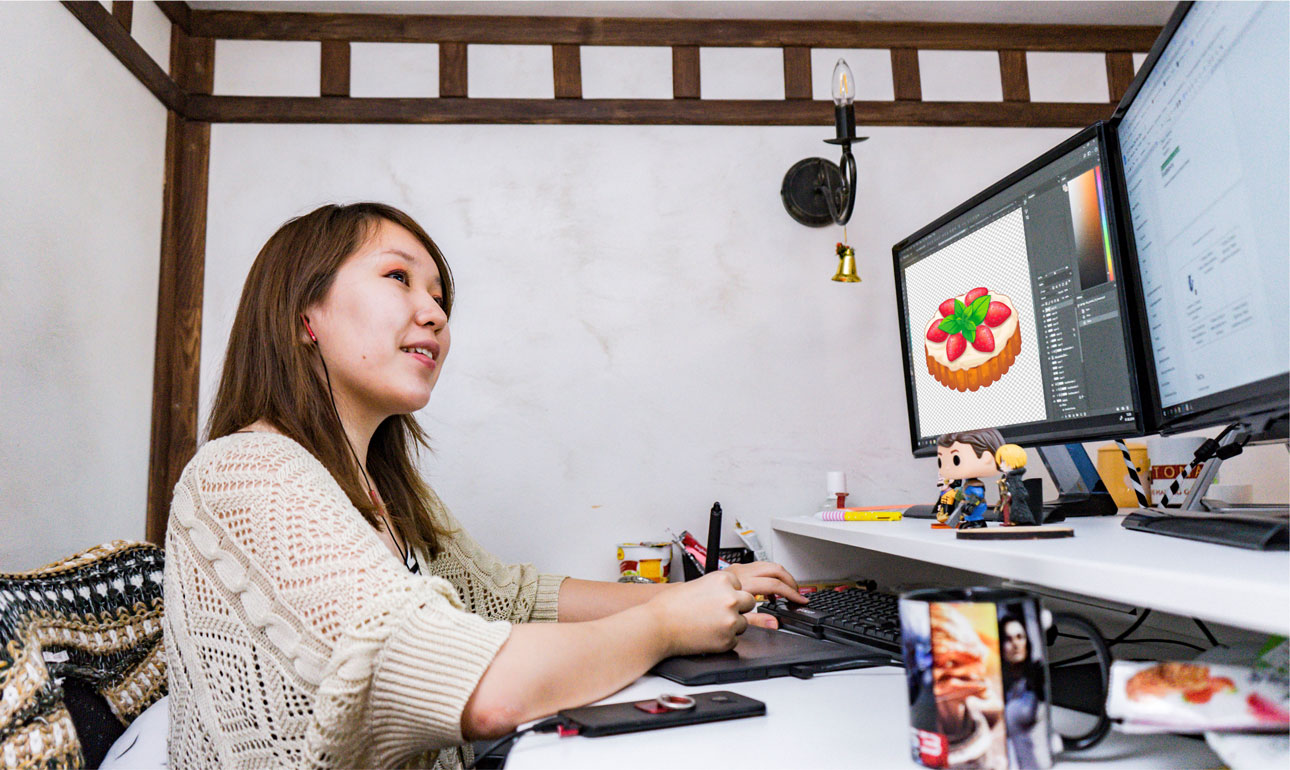
The artist starts working with references and expanding their visual library (this term includes an associative series and a visual representation of given topics. It's also called visual research). At this stage, the object's major and most important details are chosen, and the artist analyzes what must be depicted.
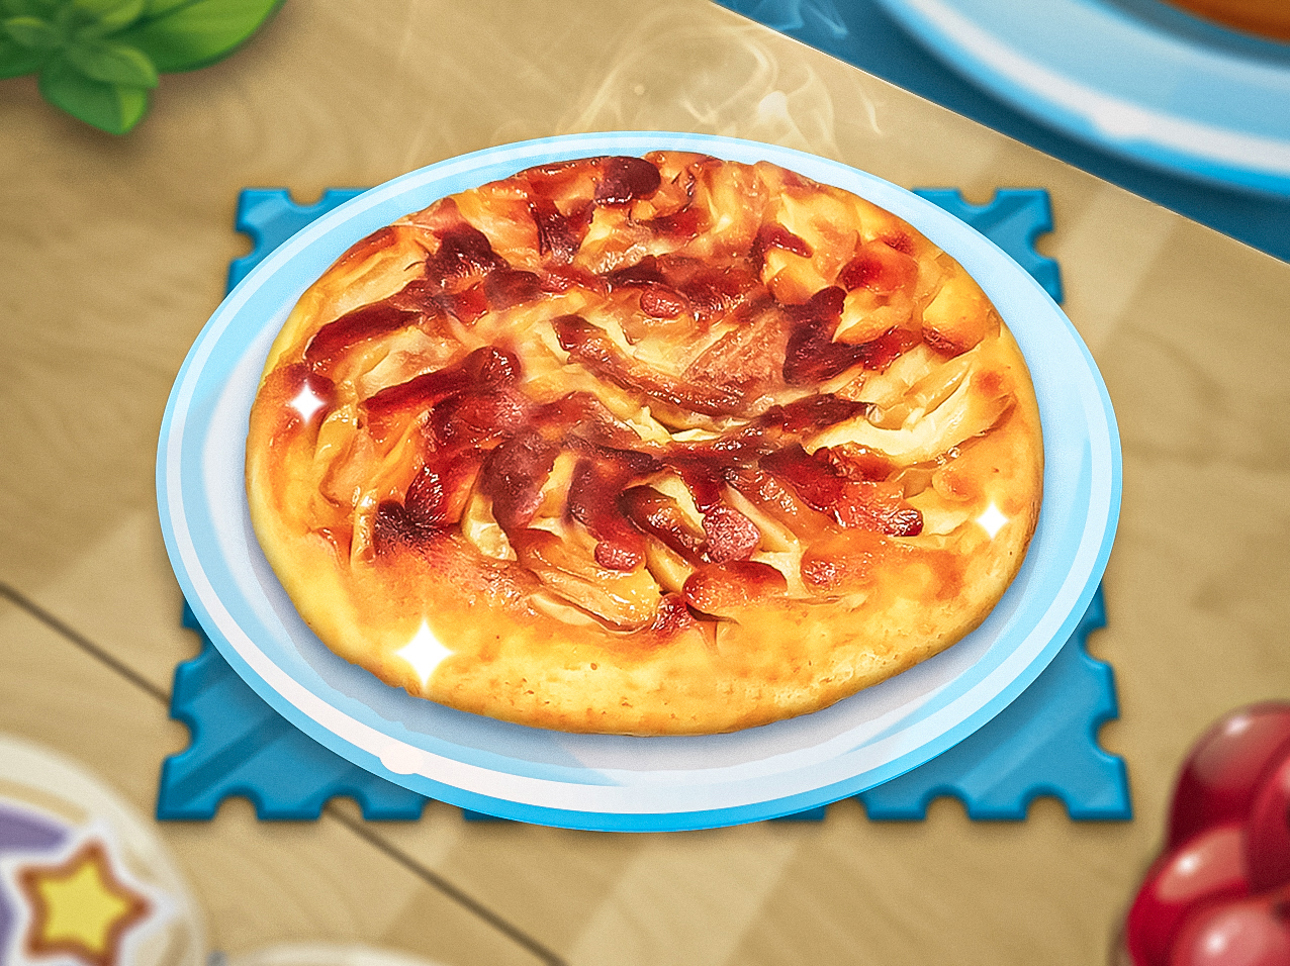
For example, an apple tarte Tatin is first and foremost apples and dough, a golden brown pie baked in a mold.
Then the artist works on sketches. It's important to work according to feedback from the head artist (art lead) and game designer. The project art lead makes sure the art quality is high and the artwork meets the technical requirements.
The main rule is that dishes should differ in shape and color from a distance. Also, in the composition featuring all the ingredients, the silhouette shouldn't change and the ingredients shouldn't cover the entire dish.
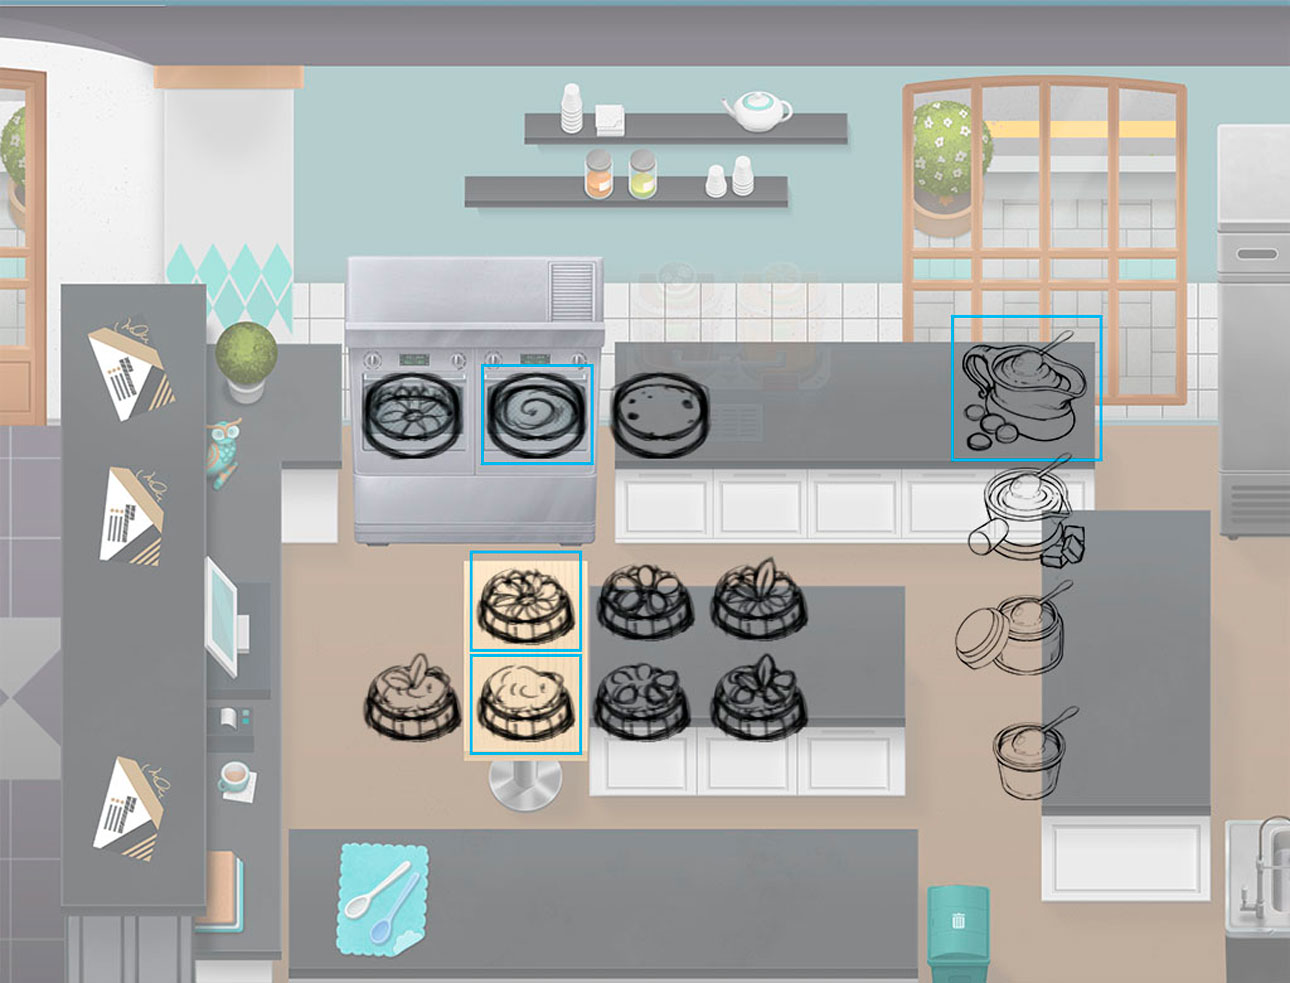
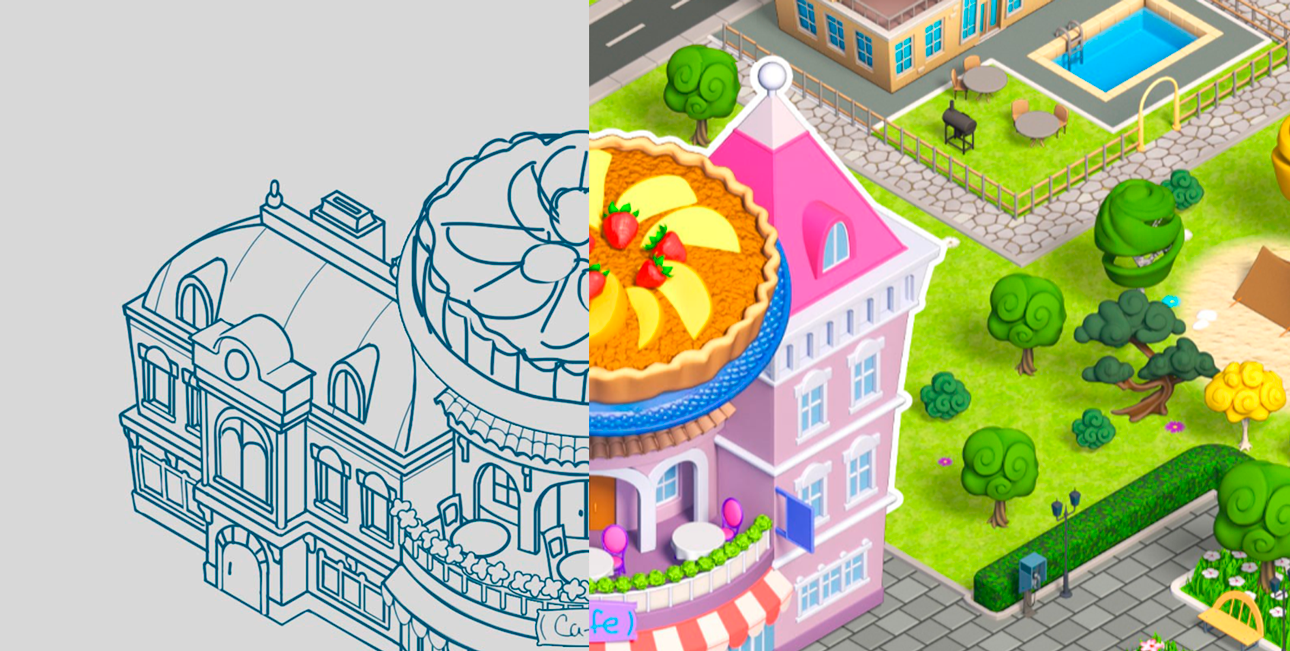
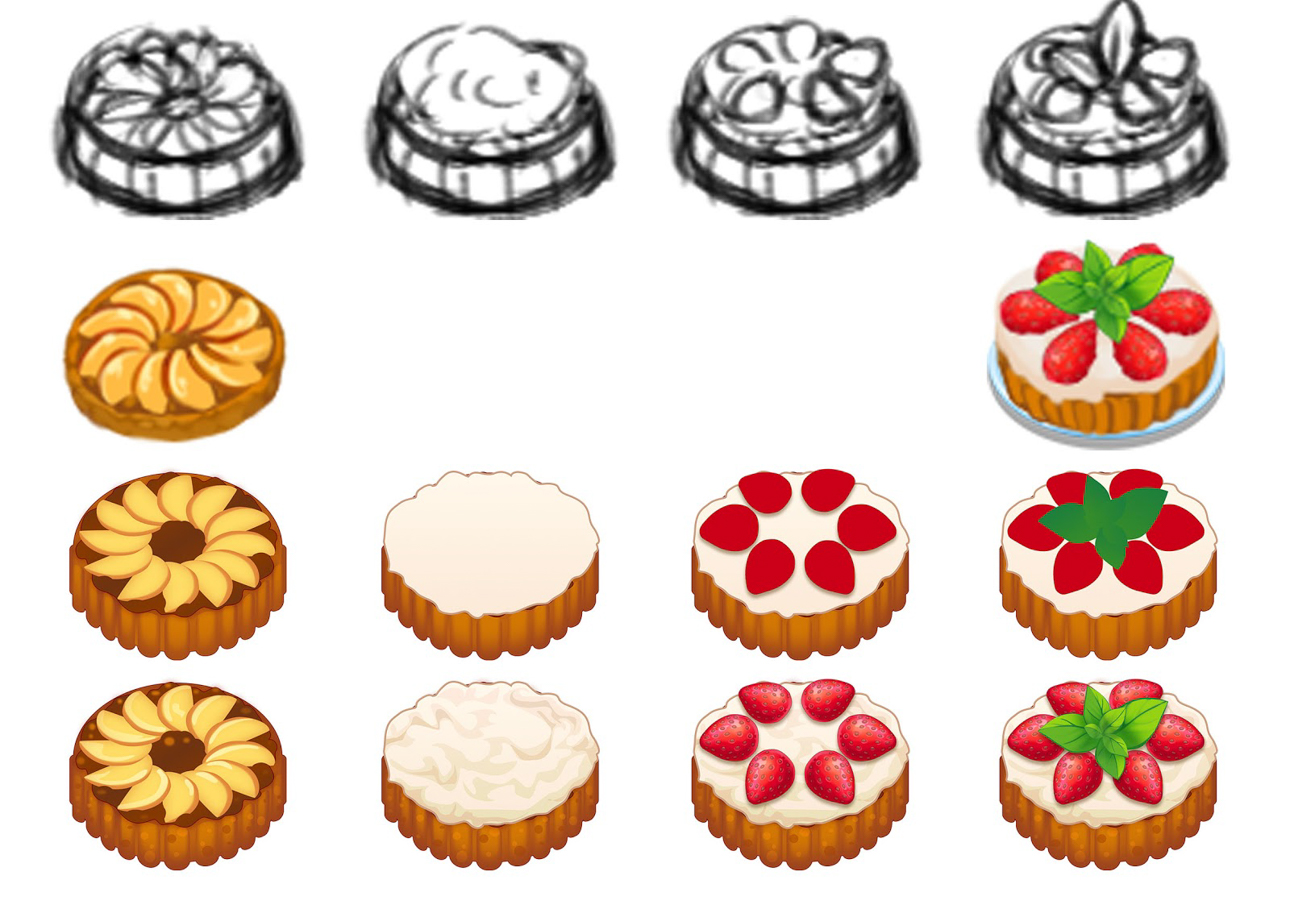
Here are drawings of our future dish, from rough sketch to clean artwork. At this stage, the artist and the game designer work together to develop the design. They choose a size that matches the scale of objects on the screen, such as tables and stoves. They choose proportions that are as close to a square as possible. They must be discernible in any interaction with the game's mechanic, and have the optimal number of details so that the dish is recognizable in any format.
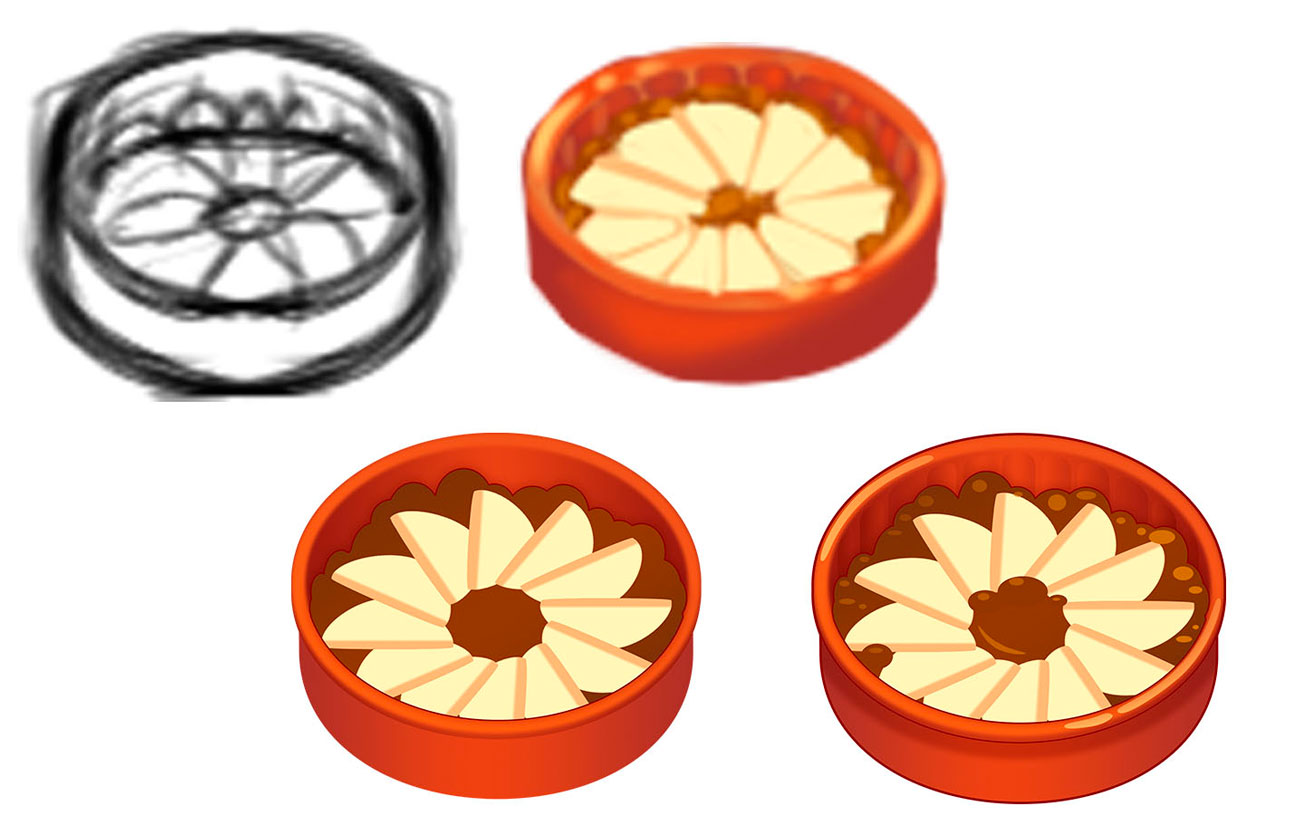
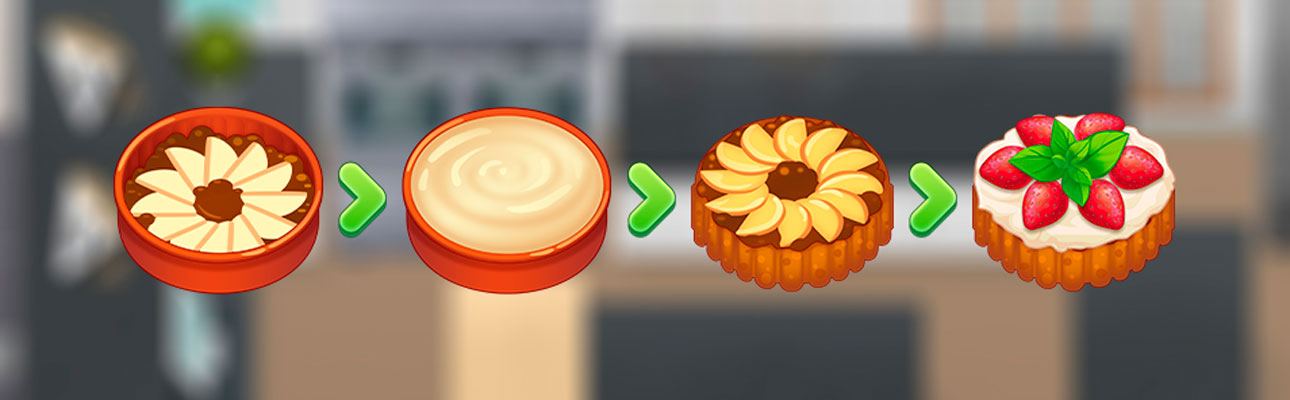
Once the sketches are approved, we start looking for colors. At this stage, we pay careful attention to the expressiveness and visibility of the object against other elements in the game. The colors must have strong contrast, and logically match the ingredient. This example shows how many images of the tarte we need to show how it's made during gameplay. To put it simply, this is what the tarte looks like with all its ingredients.

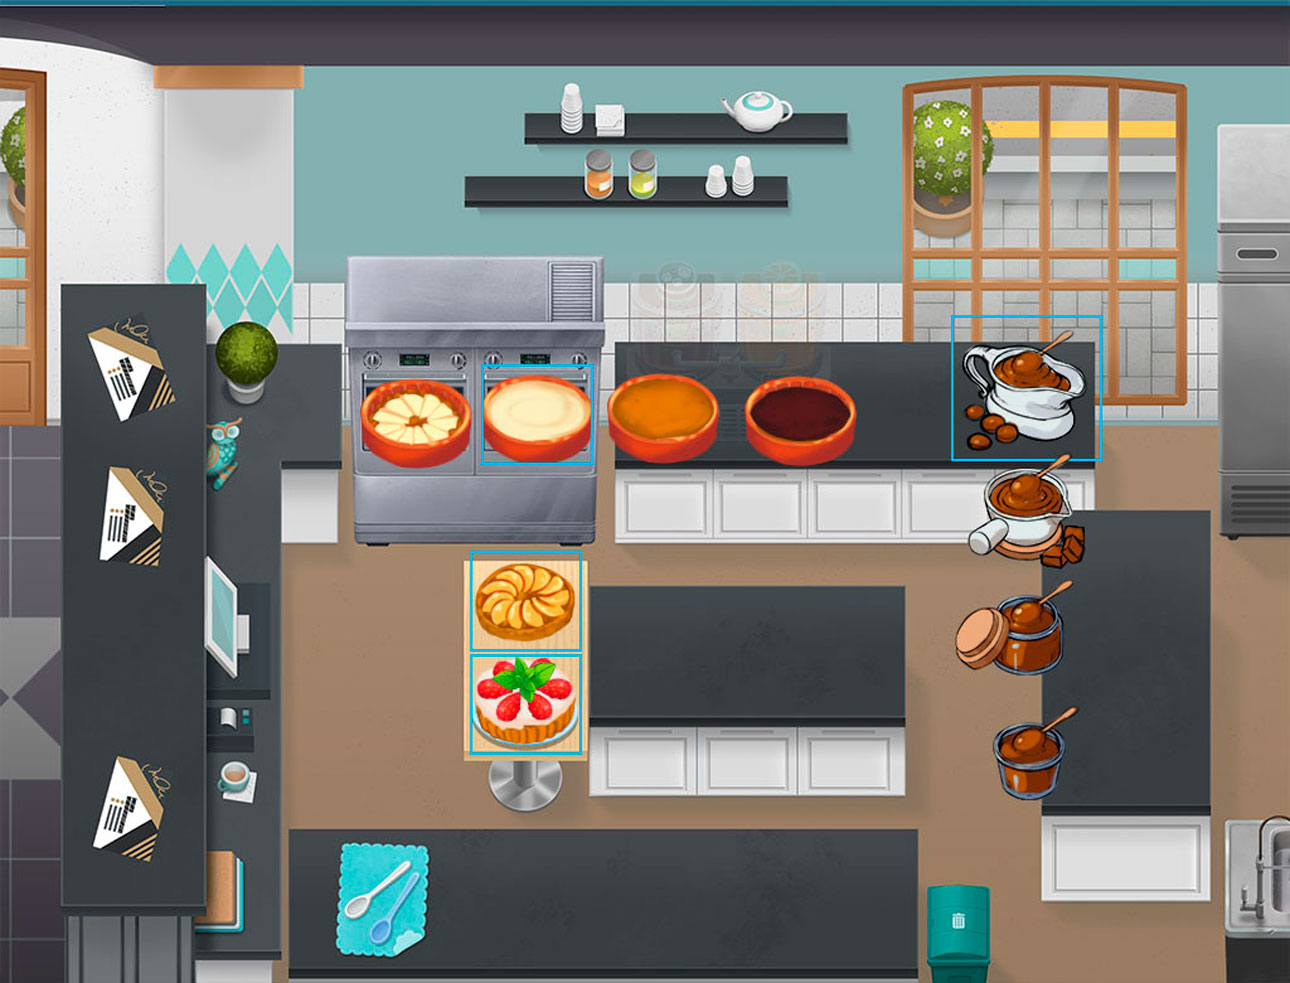
In the first sketch, the caramel looks like chocolate spread and is lost against the tabletop background. With this in mind, the artist decided to add a contrasting element, a napkin, in the scene's neutral color.
A frequent mistake novice artists make when creating dishes is that they strive for realism, using lots of small patterns and different colors. This makes dishes look like a mishmash of pixels on smaller devices. When there are too many details, the player can't focus on gameplay.
Here's a good example from another restaurant where small patterns were removed.

Another mistake is overuse of deep volumes, like black shadows or white reflections. Like in most mobile games, cartoon-style proportions and colorful objects where every detail carries information dominate in Cooking Diary.
The next step is rendering.
This starts with the creation of smart objects, which help organize the source file for further work with the material. A larger scale is best so that we can potentially manipulate the size of our art for various purposes (marketing, printing, branding, etc.).
Then vector silhouettes are created. We use vectors to make the object simple and clear. Vector graphics save us time when we work with feedback. To change the color, we work with the fill and gradient values without drawing it all over again. To change the shape, we just have to adjust the vertex values.
And finally, we add small patterns.
It's important that there are exactly enough patterns for the players to be able to recognize a dish on their smartphone screen.
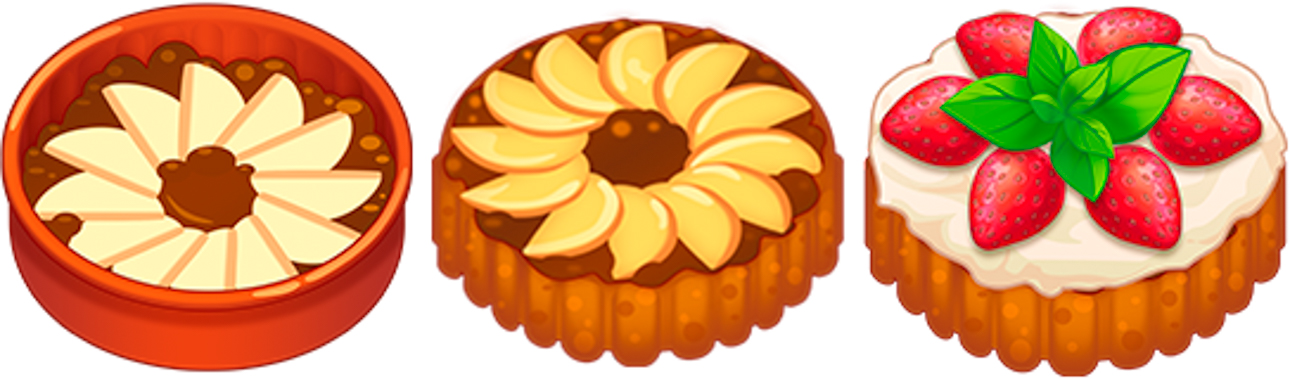
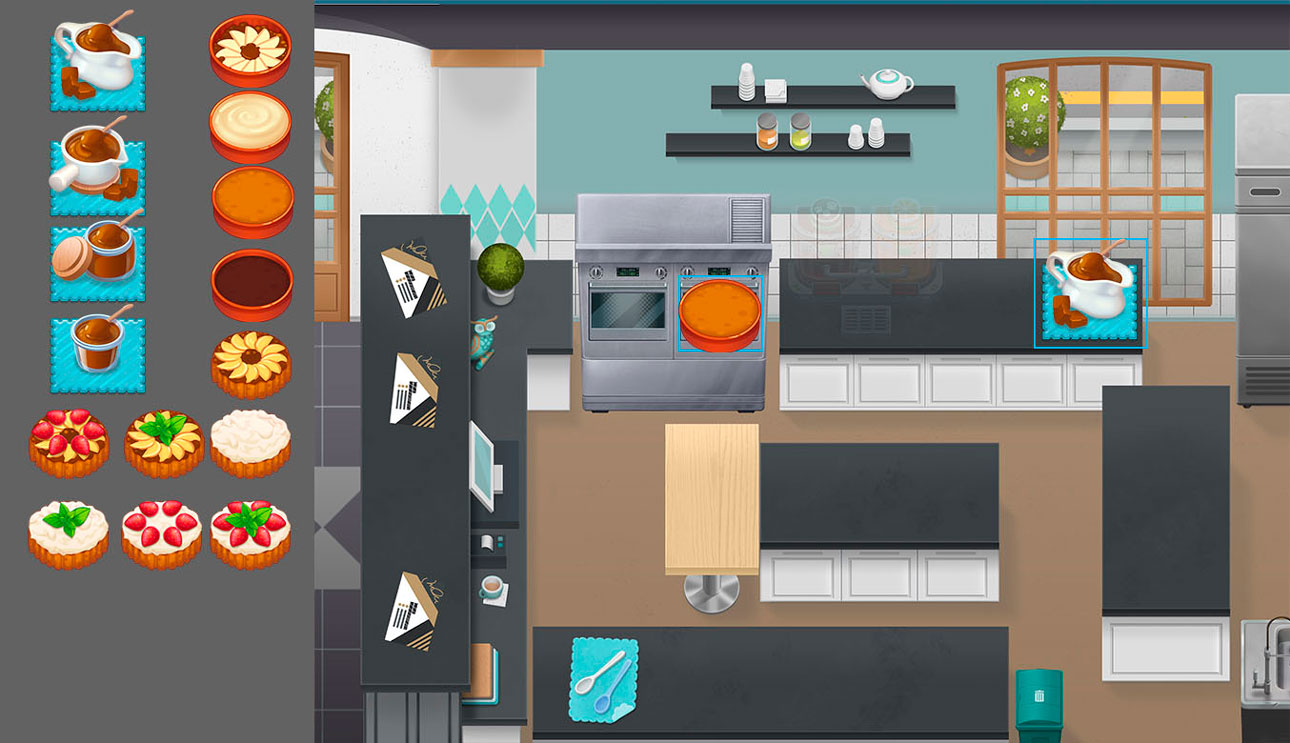
Final art for dishes is approved by our art lead, and after parsing, they're implemented into the game by coders. This is how we created our tarte: from an idea to being served at a player's restaurant.
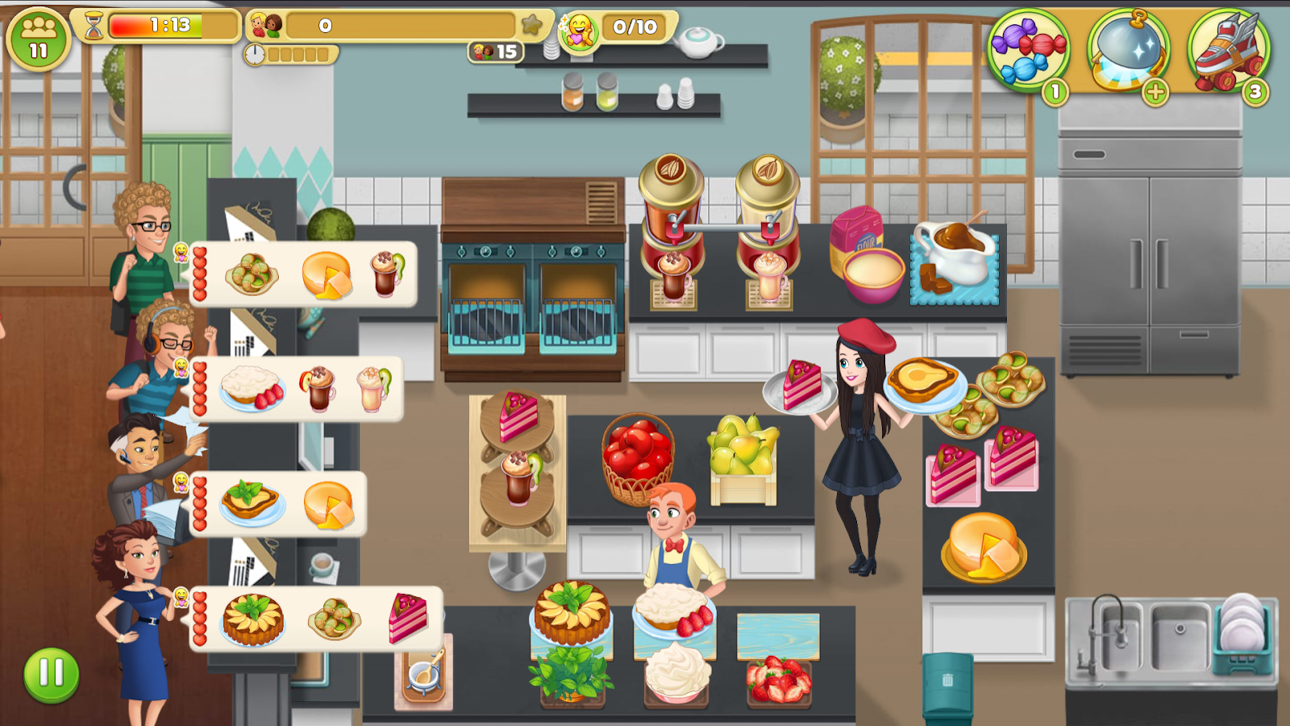
We work hard to create mouthwatering and colorful dishes that players will want to cook and serve to their customers. The delicious food in Cooking Diary represents the love for cooking that brings together players from around the world!
Apple tarte Tatin recipe
Ingredients
Dough
140 g flour
70 g butter
1 egg yolk
25 ml cold water
½ tsp salt
Caramel
350 g sugar
Filling
6 apples
Cinnamon to taste
30 ml apple or other brandy
Preparation
To make the dough, heap 140 g of flour on a cutting board, then make an indent in the pile and add 70 g of cold butter. Cut the butter into the flour with a knife. Keep rubbing the flour and butter by hand until it takes on a sand-like texture.
Make another indent in the top, add one egg yolk, mix, then, gradually adding 25 ml of cold water, knead the dough. Wrap the dough in plastic wrap and let it chill in the fridge for 1 hour.
While the dough is cooling, make the caramel. Place a pan over moderate heat. Pour in 50 g of the sugar. While stirring constantly, slowly melt the sugar, adding the remaining sugar until fully dissolved.
Once all the sugar is dissolved, turn off the heat. Generously grease a 9-inch baking pan with butter, then pour in the caramel.
Let's move on to the filling. We'll need 6 apples. Peel and slice them.
Sprinkle the cooled caramel with cinnamon to taste, and arrange the apple slices.
Take the dough out of the fridge and roll it into a 10-inch circle. Cover the apples with the rolled dough and tuck in the edges.
Bake the tarte Tatin in a preheated oven at 392 °F (200 °C) for about 40 minutes.
After 40 minutes, take the tarte Tatin out of the oven and let it cool for a bit. Place a cooling rack over the top of the pan and carefully invert the tarte Tatin onto the rack so that any excess caramel drips off into the pan. Let the tarte cool.
Before serving, put the pan the caramel has dripped into over medium heat, bring it to a boil, then turn off the heat and add 30 ml of apple or other brandy if desired. Stir. Put the tarte Tatin on a dish and pour the caramel over it. The famous French tarte is ready!
Want to help create the delicious world of Cooking Diary as part of our team? Send us your resume right from the vacancy you are interested in: https://mytona.com/career