In July, Seekers Notes, a hidden object game, turns six. That's how long players around the world have been exploring the mysterious Darkwood and immersing themselves in the game's rich atmosphere. Today, we'd like to share the pipeline of creating monsters for our project. Monsters in Darkwood are an important part of the gameplay and narrative. By banishing them, players receive fixers to assemble collections, and their unique appearance and the quests involving them are an integral part of events. In this article, we'll talk about the development of artwork and animations, and in the next article, we'll tell you about how we do monster voices. Let's go!
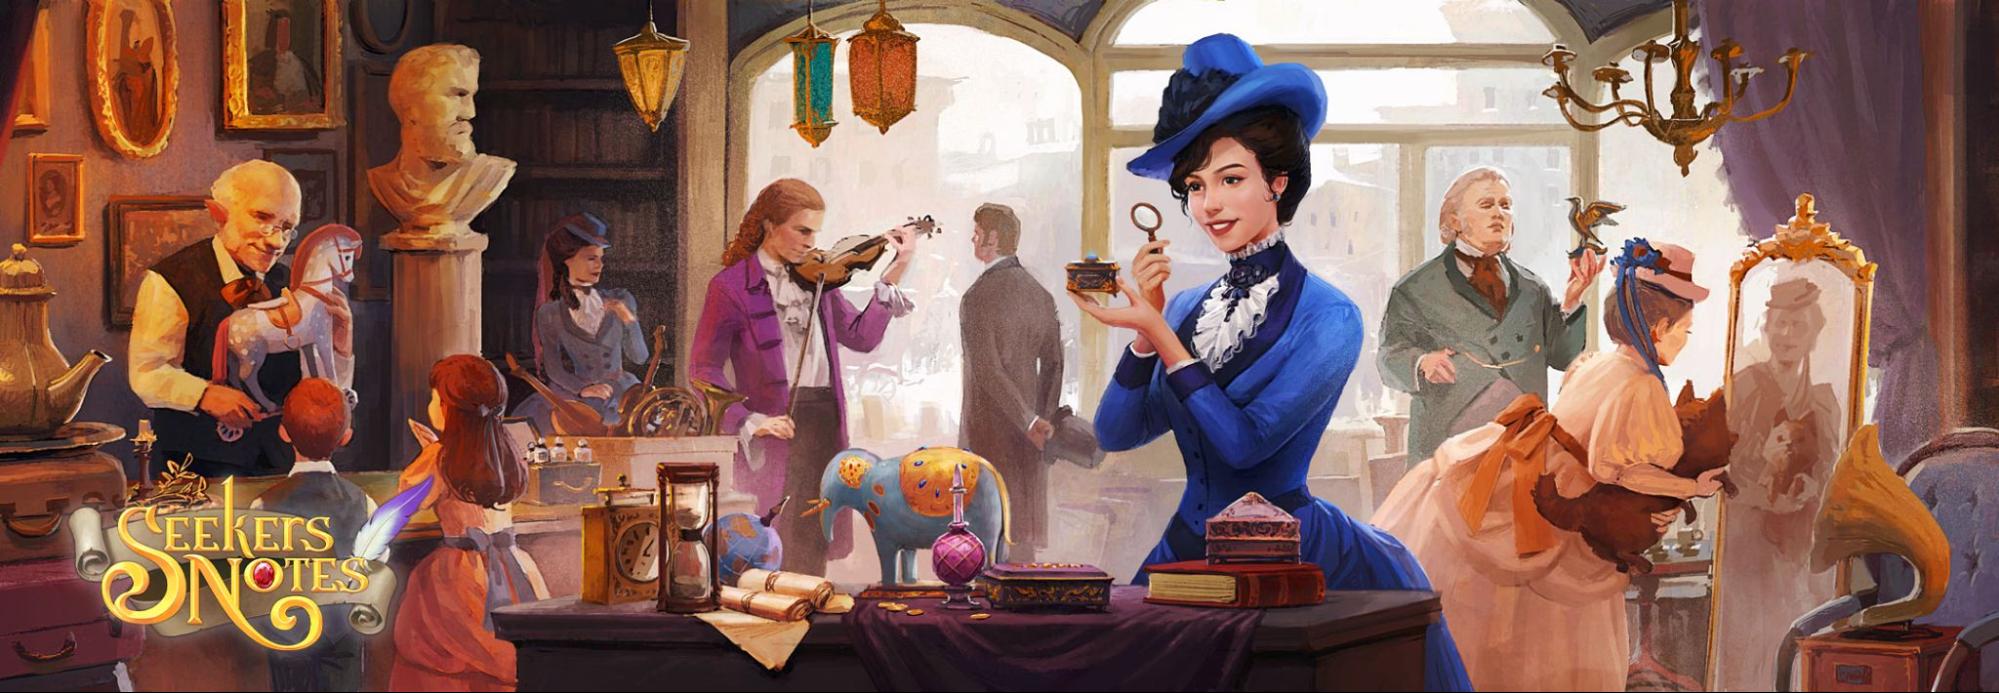
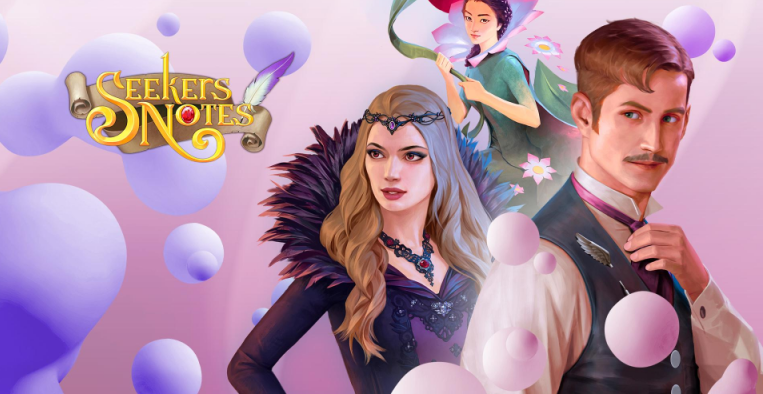
In previous posts, we've already introduced you to this project, but to give you a brief idea, Seekers Notes has more than 33 million downloads from Russia to Easter Island, and it ranked 3rd on the list of the highest grossing iPad games in the United States.
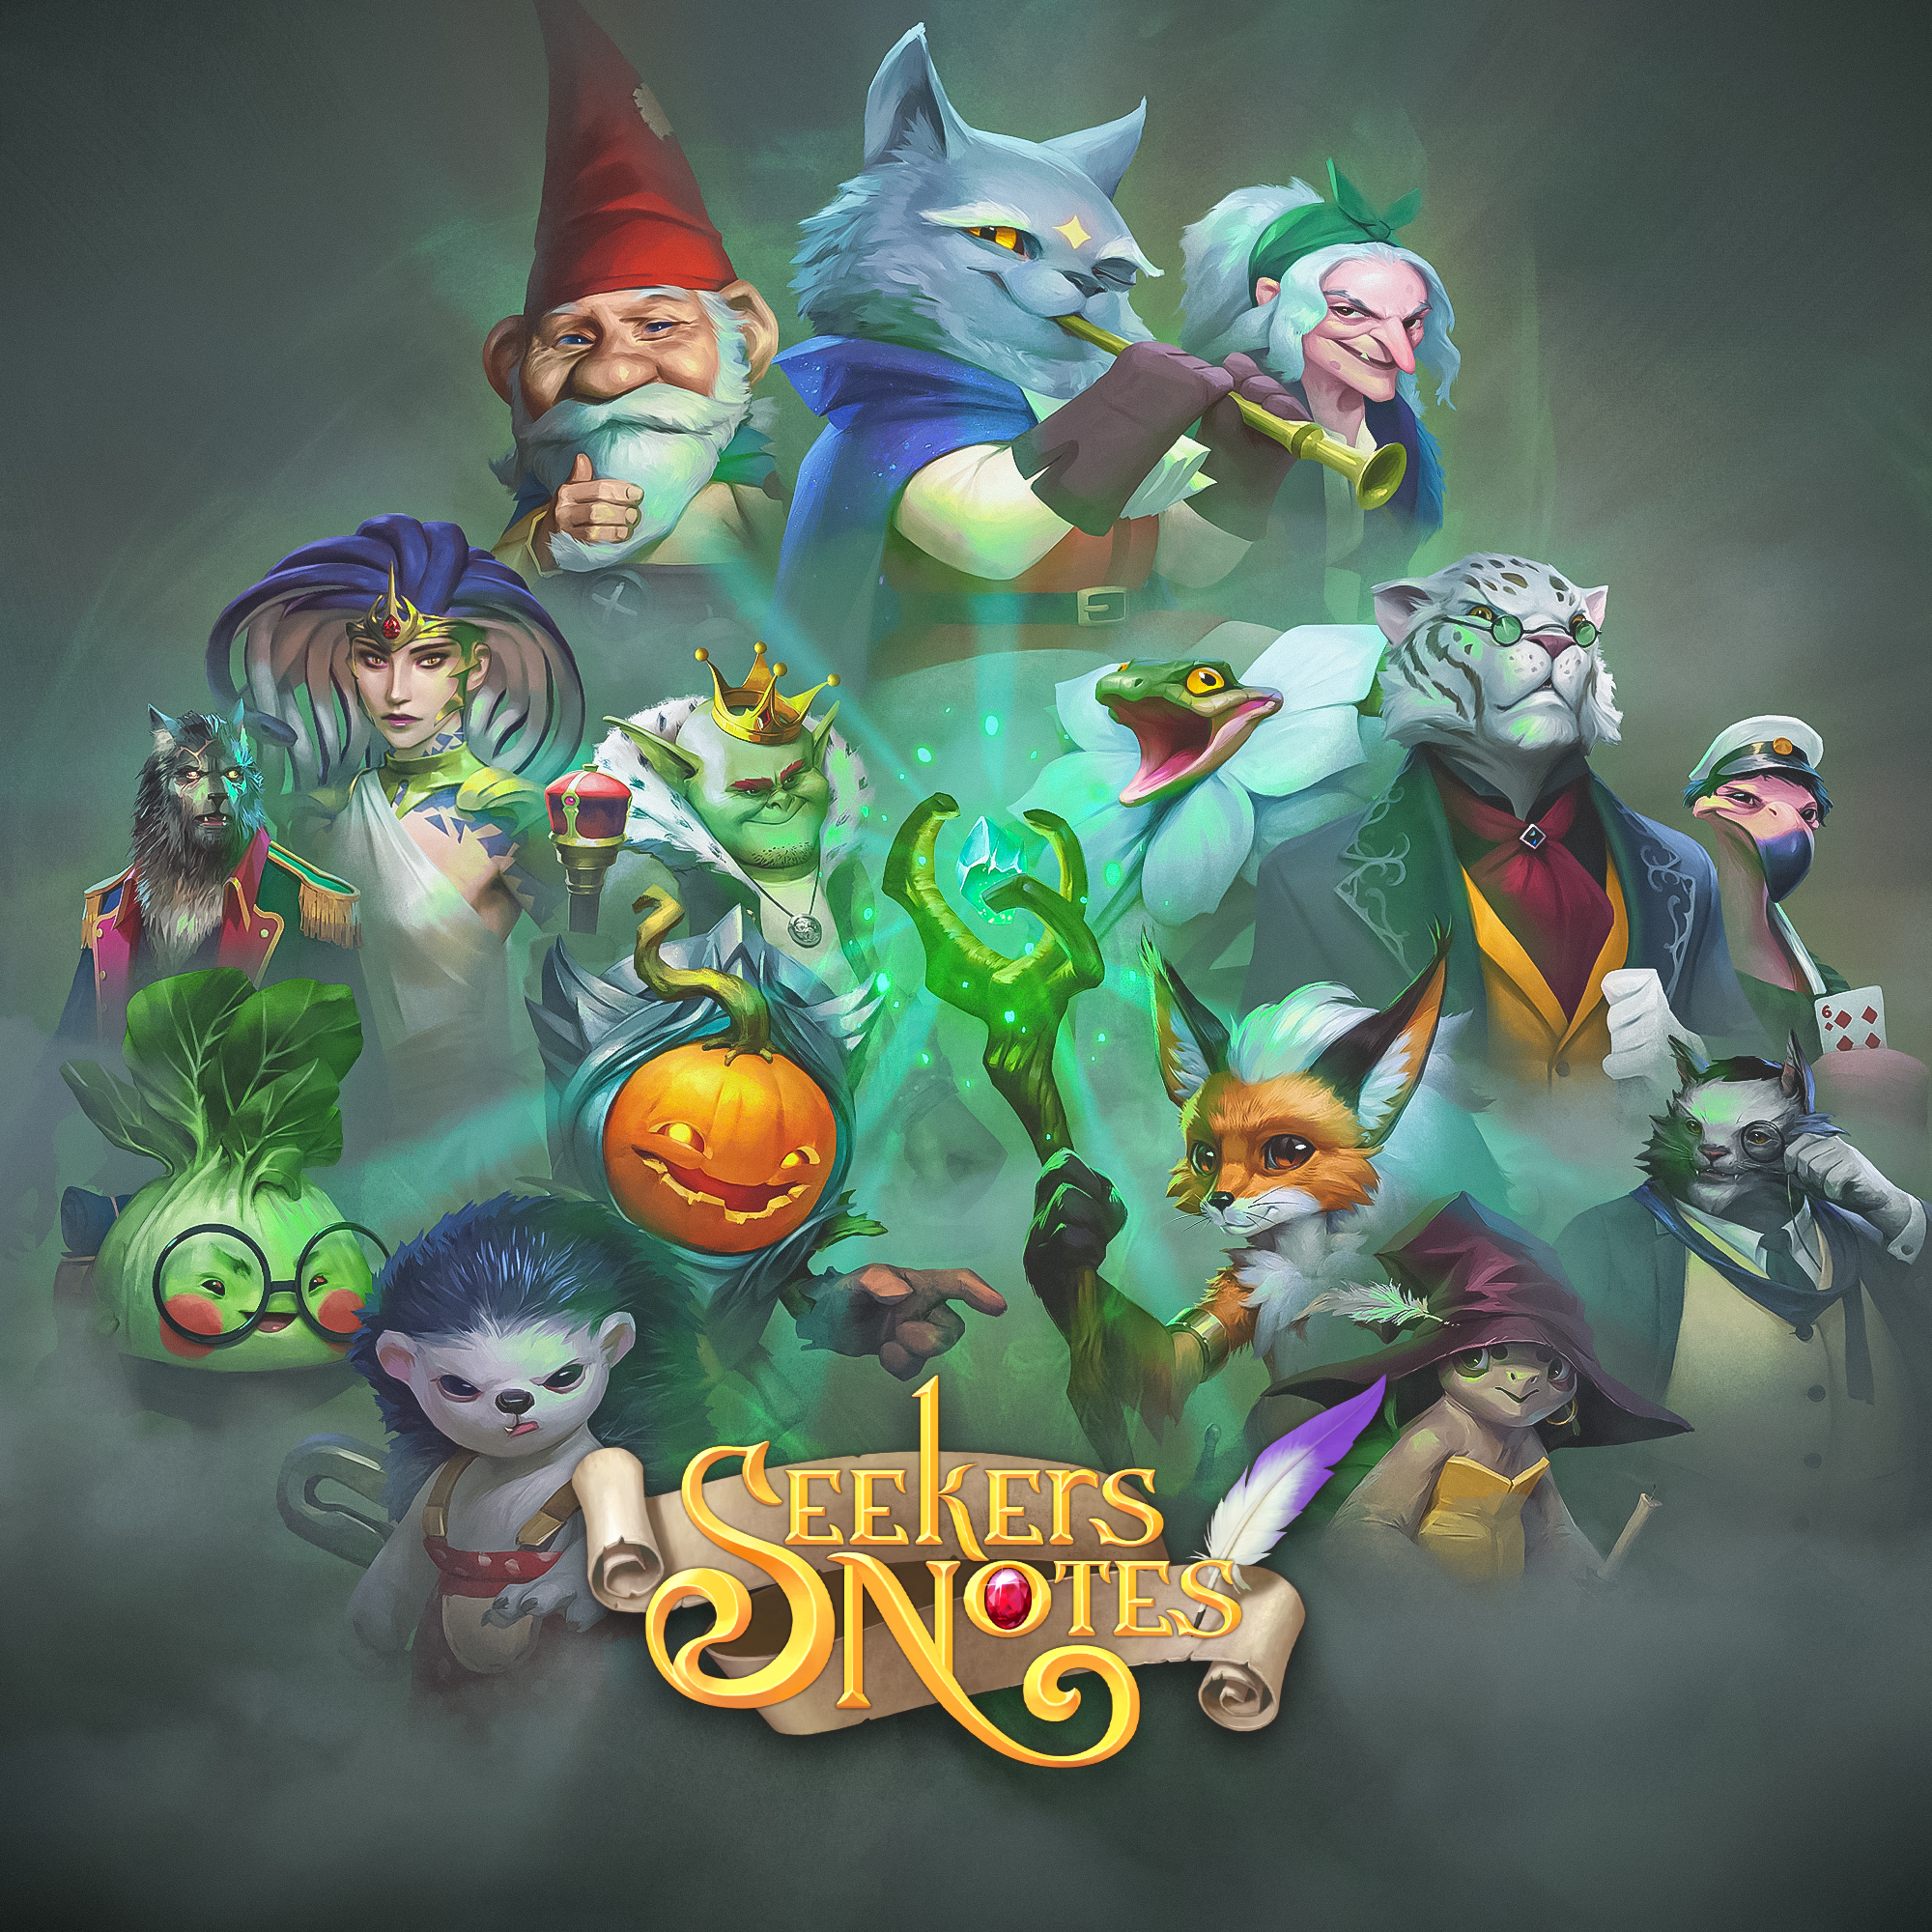
What are monsters in Darkwood?
Seekers Notes is updated every month. An update includes the continuation of the main storyline, improvements, and game events. Each event includes a new location and story, as well as three unique monsters. Depending on their nature, whether they are friendly helpers or malicious saboteurs, players placate or banish them to get into the Top 1,000 and win prizes. Since events have different themes, mainly dedicated to a certain holiday or season, the creatures also have an appearance that fits the theme. The monsters help convey the mood of the event. You can find dozens of creatures in the game, and their list continues to grow.
How the Steel Gentleman monster was created from sketch to render
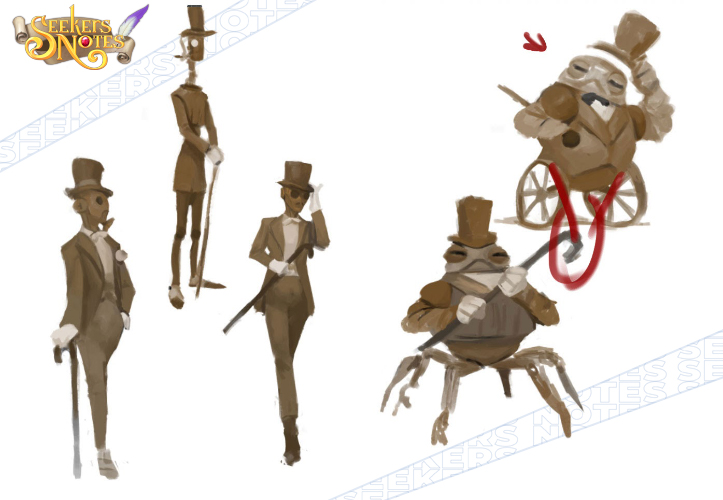
Stage 1. More sketches!
Any character comes into being from an idea, so we carefully read the statement of work from the game designers and the short description from the writers:
Narrative description from the writers:
Steel Gentleman. Its monotonous hum and squeak make your teeth ache, but the worst thing is that it doesn't fall silent for a second! You need nerves of steel to deal with it!
Statement of work from the game designers: It has a steel mechanism that resembles a robot. It's advisable not to make the head transparent, and leave the hands looking like normal gloved hands. There should be no metal visible on the hands. It wears a suit and top hat, you can add a cane or a tie. Looks like an aristocrat, haughty and fussy. Appears at the same time as the Time House location.
We upload reference images we have to PureRef, in addition to which we can create our own reference board, and then we start creating.
First, we think about what our character will look like and make sketches until we find the image we want.
When sketching, it's advisable to create several characters that are quite different in design. For example, a version that fully conforms to the statement of work, a slightly modified version, and a version that is completely our own and only indirectly based on the statement of work. This way you can find some unconventional and interesting solutions.
Usually we start sketching in black and white, but this time we wanted to make things a little different. Besides, it had already been decided that the characters would be golden or bronze—we wanted to adhere to the steampunk idea from the very beginning.
In Seekers Notes, there's a division of characters into monsters, humans, and humanoid monsters. We decided that a "monstrous" creature would be right for this particular event. A robot with spider legs could be too repulsive and creepy, so the wheeled version turned out to be the golden mean and was eventually chosen for further development.
Making significant changes to the character's image is best done while the sketch is still pending approval. Here we got feedback to change the wheels, after which it was decided to put the character on one wheel in order to visually elongate it and make it more stately and haughty.
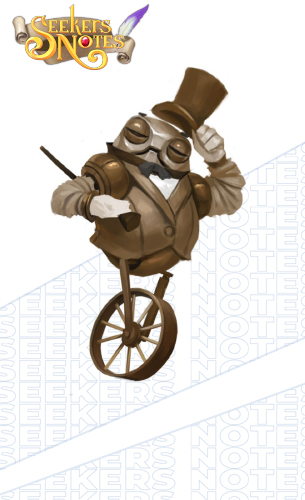
This is what the character looks like with one wheel. Now we can proceed to the next stage.
Stage 2. Let's add color!
We start looking for color options. By placing the character against our game's background, we'll have better control over the final result.
Since one of the primary colors has been chosen from the start, we'll match other colors with it.
Primary colors are normally selected through two main filters, such as overlay and color.
Try to stick to color theory and these schemes:
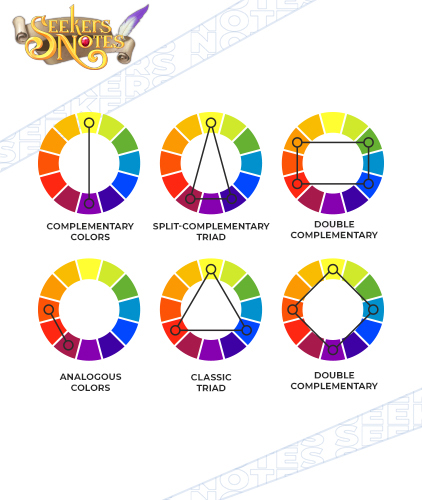
The first two versions were based on analogous colors (in the second version, we adjust the bronze to the shade we need), and the third version is made according to the triad principle. The triad almost always works well, and the triadic third version gives us bronze as a base, turquoise as a complementary color, and red as an accent that gives the character a twist.
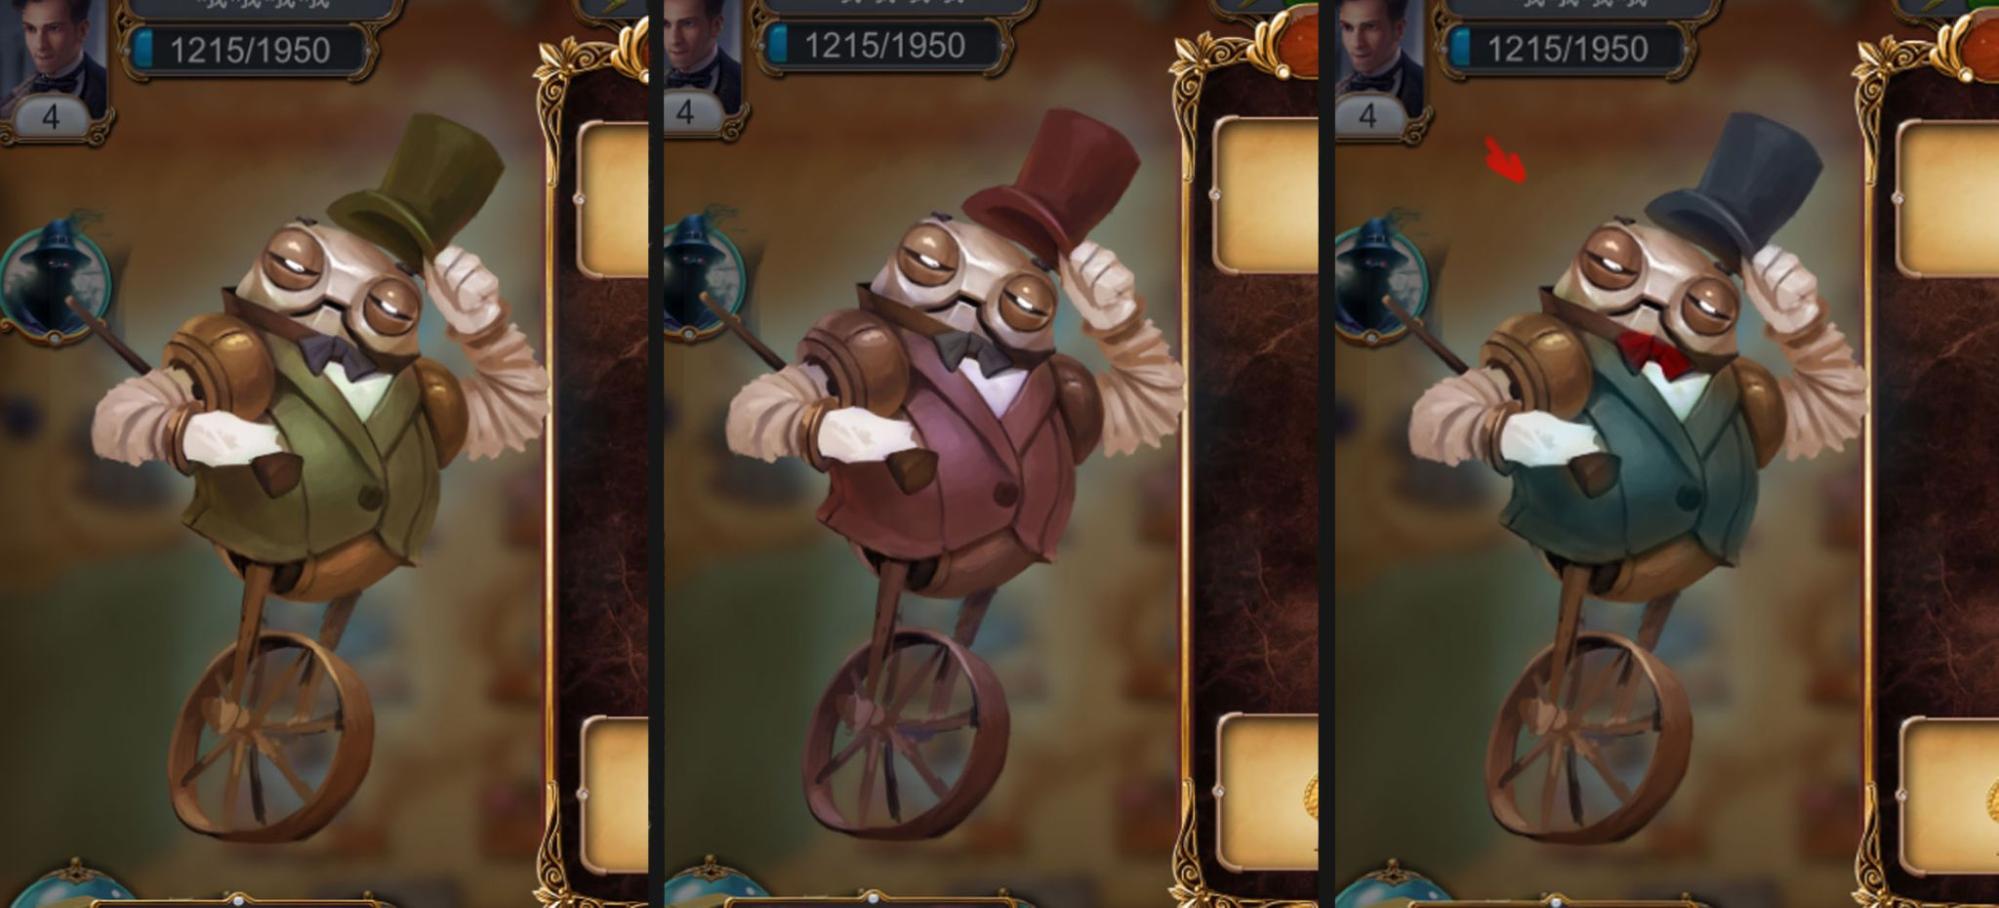
The third version really looks good. The triad WORKS =)
Don'be afraid to make different versions and use various principles. It will allow you to "go all out" with the character and find the perfect option.
Stage 3. Details and finishing touches
At this stage, we develop the character in great detail, enhance the colors, and, if necessary, add small finishing touches.
Try to keep in mind the general shape and volume. Most often, it is at this stage that we make the picture a little worse. That's OK and you can always see how the picture looked in the previous stages. With analysis, you can fix some of the "deterioration."
Another tip: you can easily get lost when working on details, so to avoid getting stuck at this stage, you can plan specific actions for the day—what we're doing today and, most importantly, how we're doing it. This will help us have a clear goal in mind and not end up running on the spot.
During the final stage, we got feedback: "Add joints to the legs"—this corrected the impression that the character was falling and added some movement.

We enhance our monster with "complementary" elements (a pocket square and gramophone) to spice the image up. By adding these elements, we balanced the character a bit and reinforced its shape.
Next, we check what we've done (we can compare it with finished artworks): we lighten overly dark areas, adjust the final color through the color balance, and check the picture in black and white.
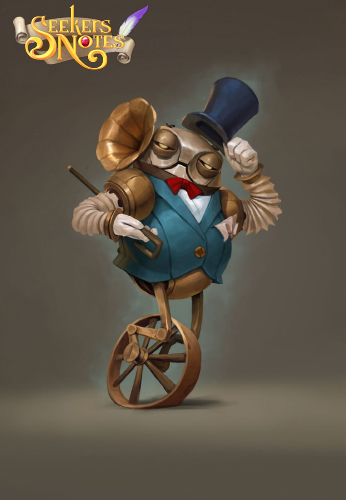
Many cups of coffee and some helpful feedback later—our character's ready! We get it approved, and then we can hand it over to the animators.
How the Big-Eared Aristocrat monster was animated. Video + process description
In one of our previous posts, we already shared with you the pipeline for making character animations. You can check out the cute pets from Cooking Diary again.
This time we've prepared a video where we show in detail the process of animating the Big-Eared Aristocrat monster.
Enjoy the video!
Below you'll find a description of the process shown in the video, as well as some tips that you can use in your work.
Character animation consists of 3 general stages:
Preparing artwork—"cutting"
Rigging
Animation
Preparing artwork
First, the character should be split into separate parts in order to provide it with the necessary mobility. When "cutting," we need to determine which movements the character is already predisposed to by its pose and angle, and on this basis, we separate the main body blocks: limbs, head, eyes, hair, etc.
Rigging
Rigging consists of three steps: 1. creating meshes; 2. creating a skeleton; 3. attaching the mesh to the skeleton.
Creating meshes
Since the character animation will be in-game, it's very important to make meshes optimized and light so that the FPS doesn't drop when the character appears in the game. To do this, we need to imagine the character as a low-poly object and draw the mesh accordingly. To some extent, this is similar to the process of retopology in 3D.
Creating a skeleton
Creating a skeleton is quite simple, just follow the character's anatomy. In this case, it's apparently a humanoid, so we built a skeleton as for a human, but with slight differences in the legs and ears.
It's always helpful to use automation tools in animation. So we used inverse kinematics for the legs. Also, for future control of everyone's favorite "pseudo 3D" effect, we added bone controllers to the head and body.
Attaching the mesh to the skeleton
The last step of rigging is to attach the mesh to the bones. As we choose the mesh, we add the bones to it that should influence it. Spine will calculate and distribute the "weights" of influence of the bones on the mesh. In most cases, this calculation will be correct, but sometimes we have to manually adjust the values to simulate body movement and bends better.
After the basic rigging of the body is complete, the final touch is to add weights from the bone controller with a "pseudo 3D" effect. To achieve the best imitation of head and body rotations, it's necessary to imagine the height of points in the object and place values of weights according to the principle "the further from the viewer the point of the object, the less weight there is." For example, the back of the head will have a value of 1, and the tip of the nose 20. You can also visualize this principle as a depth map in 3D.
Animation
The final and most important stage of an animator's work is the animation process itself.
Before starting, it's important to decide on the character's personality and come up with a short storyline for their on-screen actions.
Usually the character's personality is created in advance by the artist at the drawing stage, which is why it's important not to distort it.
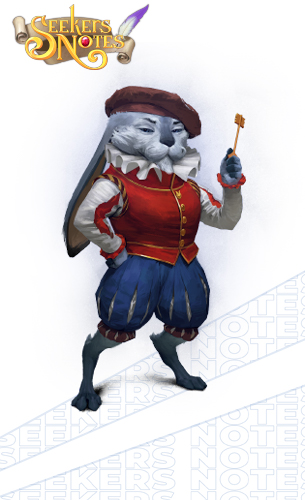
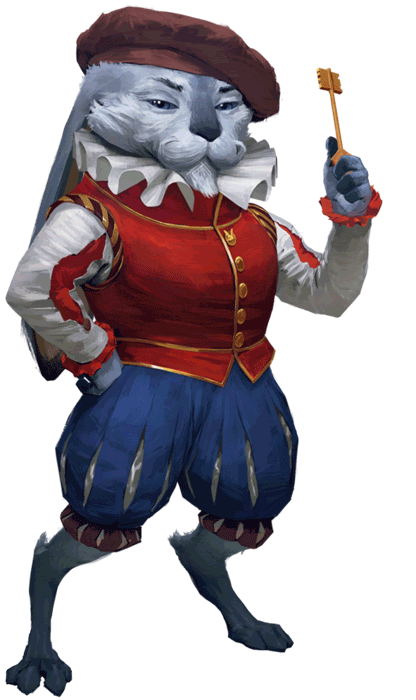
The animation itself generally looks like this: first, there's an intro where the character is shown to the viewer for the first time, so they should "greet" them, pay attention to the player and show some kind of reaction. Next, they should turn away and do their own thing, depending on what the concept is. In this case, the hare was described as a proud member of an old noble family who holds the family key to the surrounding lands. That's why in the animation he seems quite arrogant, looks down on the player, and makes it clear that he has something valuable and important in his hands, which he's very proud of.
That's the end of our post =) In the next article we'll tell you about the process of creating monster voices. Stay tuned for more updates on our blog! We wish you endless inspiration and good luck in upgrading your skills!