Hello, everyone!
My name is Marianna, and I’m the Lead 2D Artist for Seekers Notes. Our project is one of the top-grossing mobile games in the US, Russia, western Europe, and many other countries. Our game has been an acclaimed hit in the hidden object genre for almost five years now, and continues to delight millions of players around the world. During this time, we've created about 500 characters for Seekers Notes, and that number increases with every update.
In this article, I would like to share how we create a character for our hidden object game and introduce you to the main stages of this fascinating and very interesting process.
There are three main types of characters in Seekers Notes: NPCs, monsters, and avatar characters. For this lesson, we will show you the creative process of developing one of them.
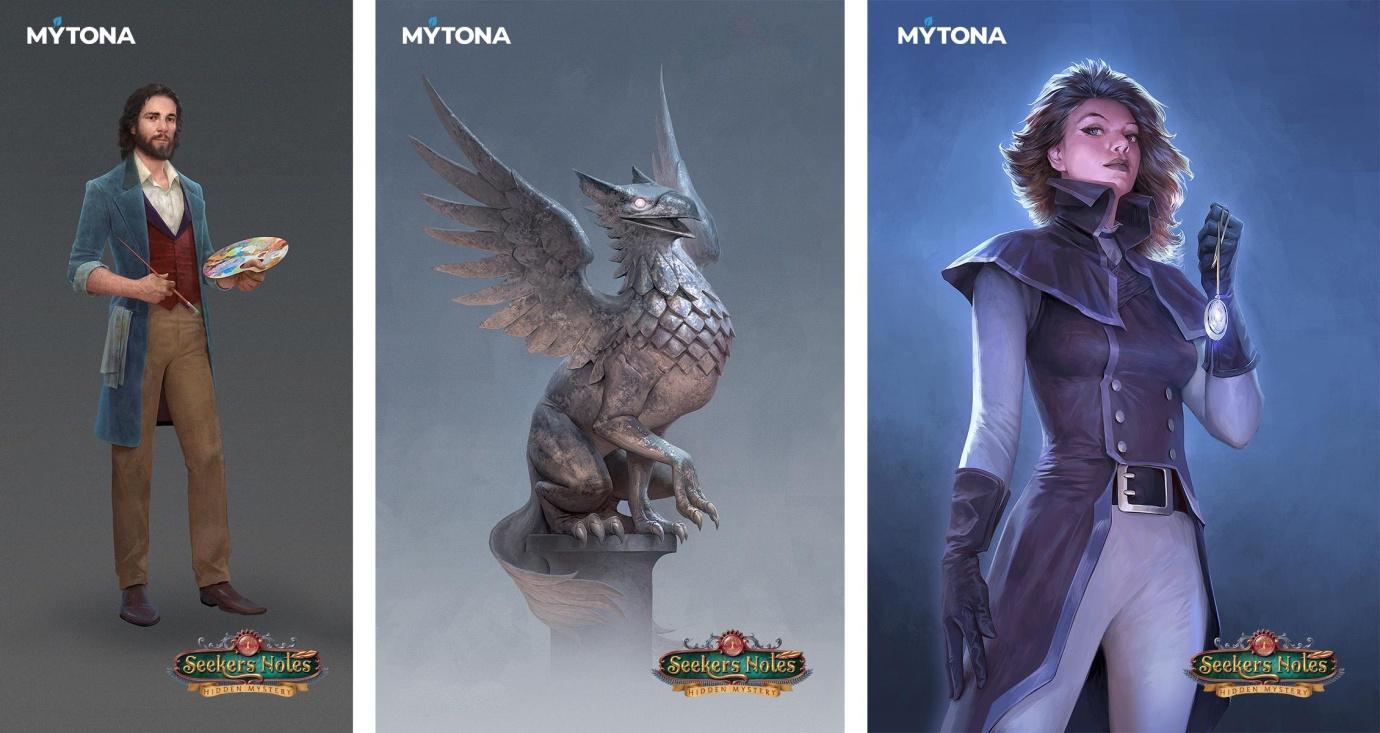
Seekers Notes characters: NPC, monster, avatar character
Sketch
An NPC (non-player character) is a “resident” of our game, designed and described by our writers and game designers.
First we carefully study the TOR (terms of reference) document and then start sketching. To make our future character realistic and complete, we have to familiarize ourselves with their “legend” within the lore of the game. At this early stage, it is paramount to have a vision of the character’s image, plus come up with some facts from their biography and other little details.
Here’s a tip: make sure you read the document from the first page to the last. It might contain very important information that's easy to miss.
Before starting off, you can make your own board of references in addition to those that are attached to the TOR. You can do this using any software you feel comfortable with. It will save you some time in the long run.
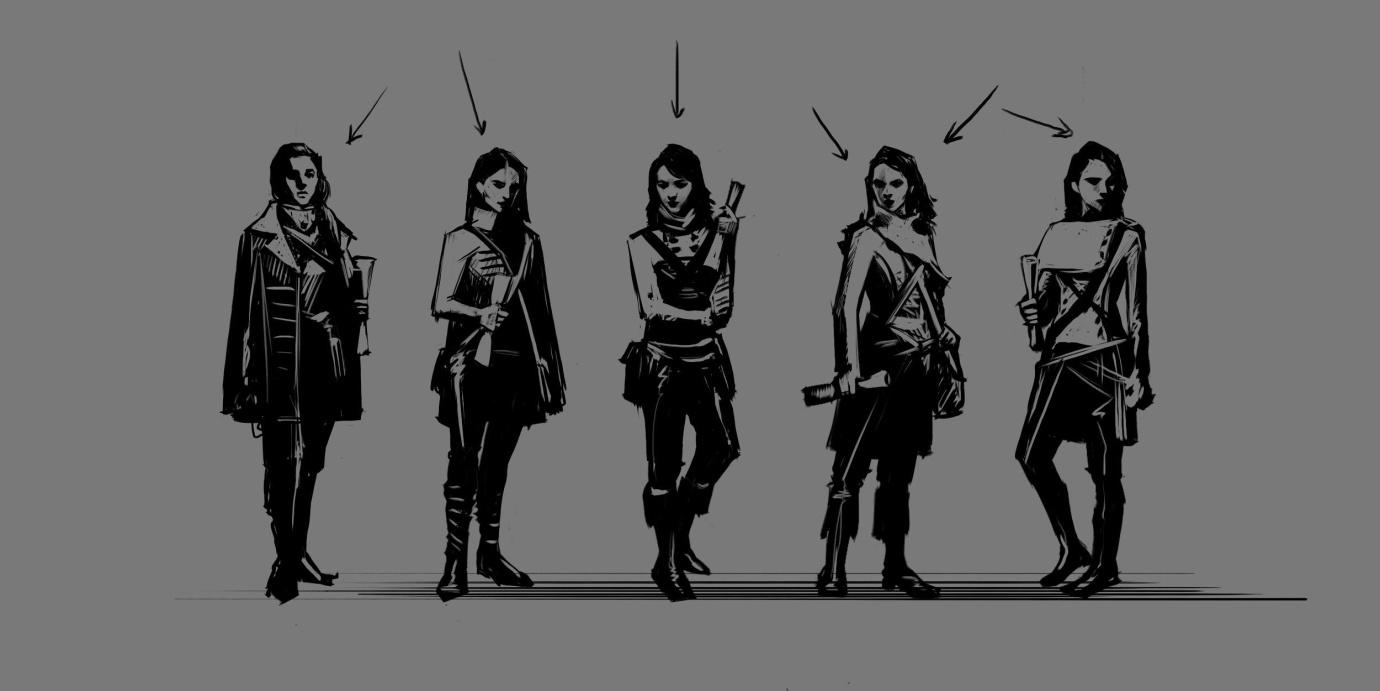
Depending on the specifics of the task, you can start sketching options however you like. We usually start by looking for a silhouette. This allows us to set the right mood for the character by choosing a posture and gestures.

Deciding on silhouettes
NPCs interact with the player through the different dialogs they have with them, so it is best for them to be looking at the player. The tilt of their head may affect the expression on their face: a character looking down may convey arrogance or confidence, while a fixed gaze shows mysteriousness or indecisiveness. The position of the shoulders, arms and legs, and the overall posture can all be used to find the most “speaking” pose. There are various methods of avoiding lifelessness such as contrapposto, or rotating and tilting body parts in different directions.
The next stage is working on the silhouette. This is where you decide on the most favorable lighting for each option and the overall character design. It's best to work on a small canvas to avoid excessive detailing.
Sketch
After the team selects one of the options, we start adding some details to the character. We polish the sketch by correcting proportions and refining anatomy. We also work with fashion references relevant to the game setting. We can play with the style of characters’ outfits and hairstyles by adding various accessories and details.
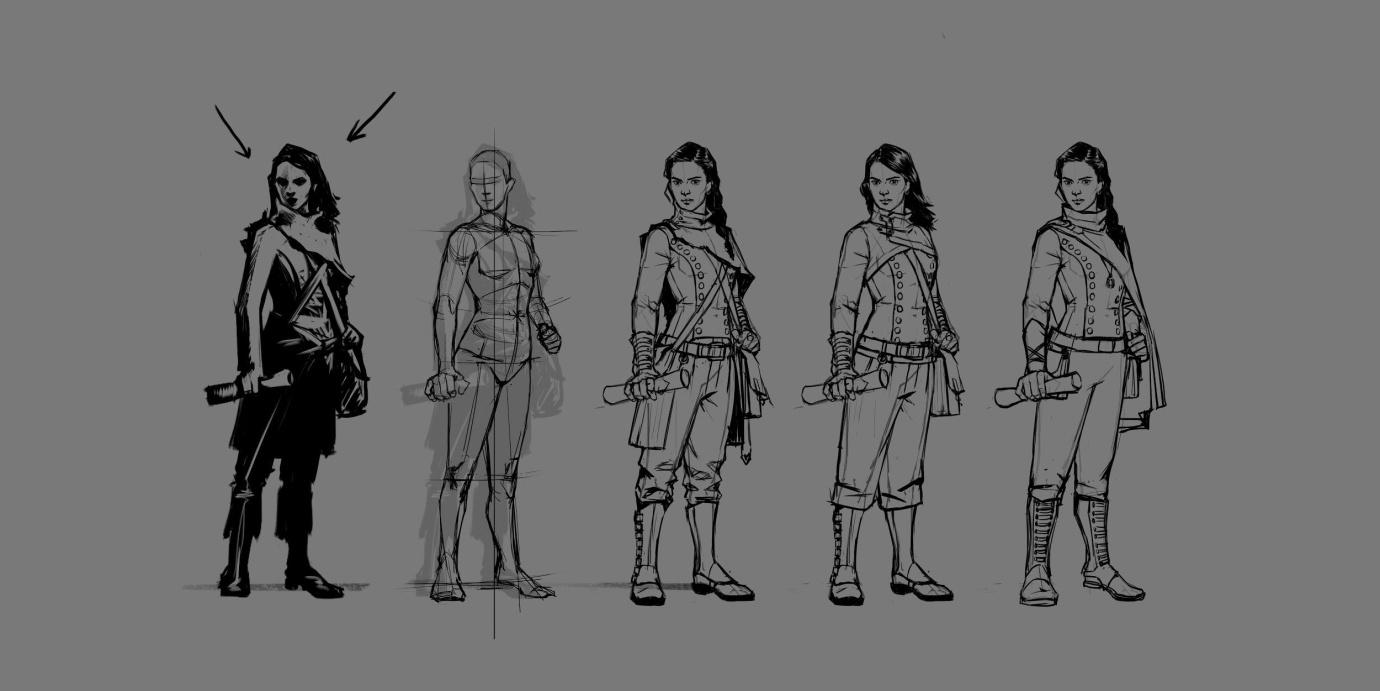
Finalizing the sketch
We should also keep our character’s functions in the game in mind. We should know exactly why this character is needed in the game, where and when they will appear, and whether or not they will be animated. We need this information for when we implement the character into the game: for example, the character’s hat brim might go beyond the screen, or their hand might not fit in the frame.
Working with tones, dimension, and colors
After choosing a final sketch, you can start working on tones, dimension, and colors. You can work in any order you prefer: some people work on tones first, others start with colors. We then open the canvas in a new window and switch to grayscale, which allows us to see the tonal ratio. You can do this via the view-proof setup.
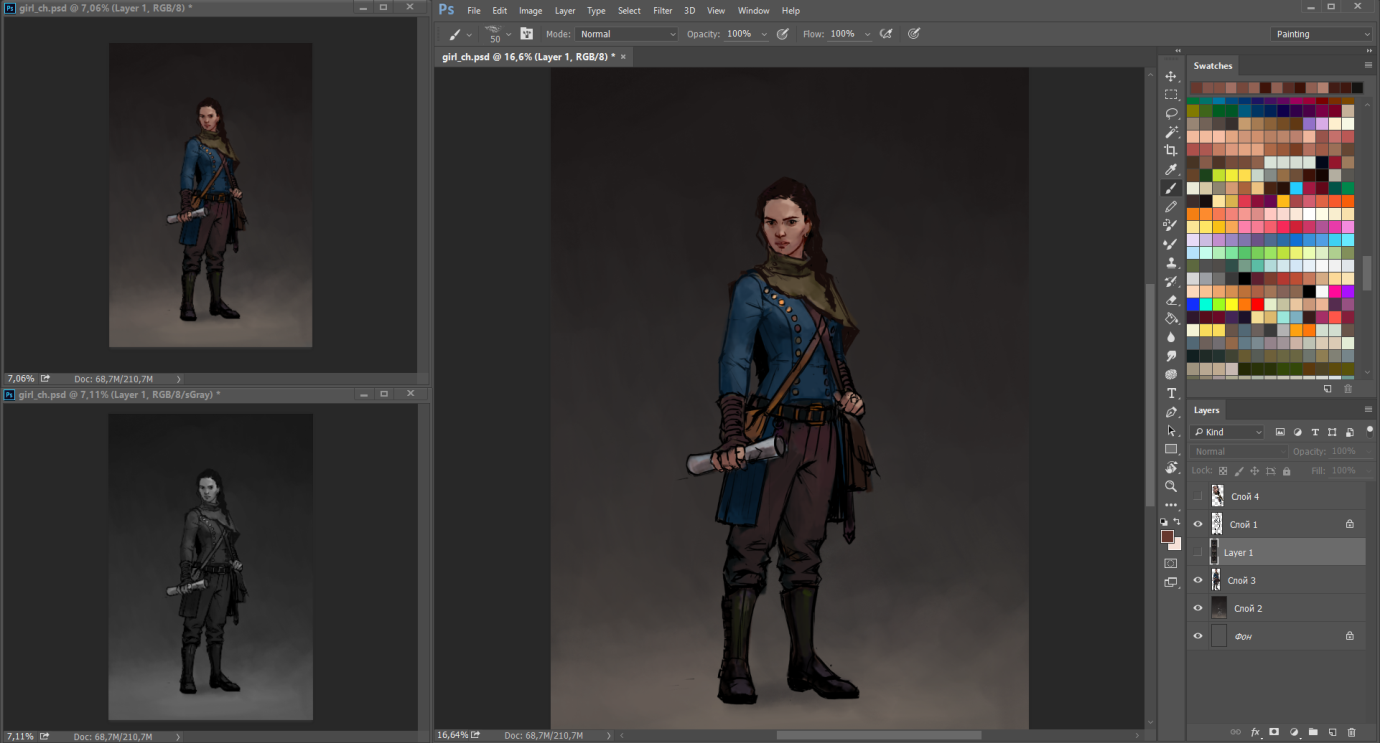
Working with windows
At this step, we prepare several color palette variations for our character. It's important to remember that our goal is to create a character for a Hidden Object game. HOG games are casual, and the main visual characteristic of this genre is bright, pleasant and functional art. However, we have to keep our project’s distinct style in mind. The story told by Seekers Notes is mysterious and sometimes even chilling, and its characters must fit in with this atmosphere.
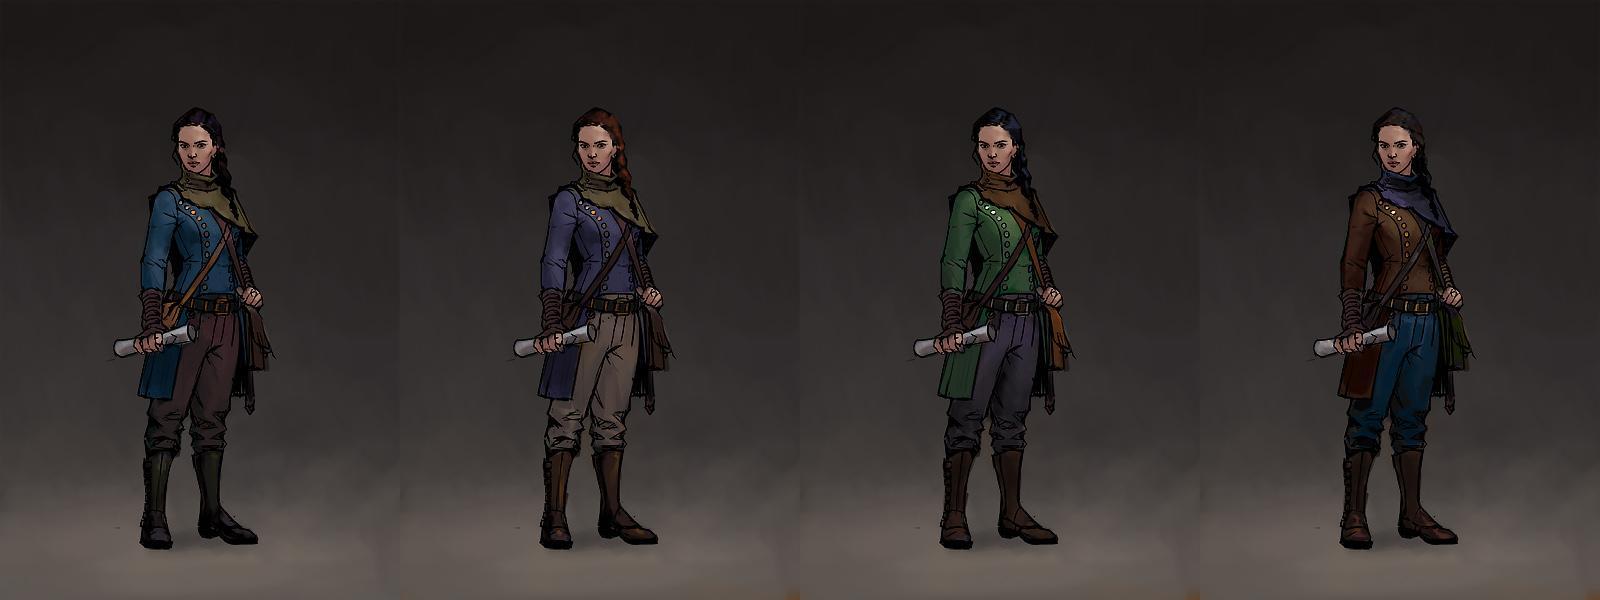
Choosing a color palette
There is an abundance of color variations surrounding us, but to create a harmonious and easily comprehensible image, we need to limit the colors in the character palette.
At this step, we simply fill parts of the image with different colors to determine the best combination. Characters should remain visually comprehensible and recognizable on any device. This is why we pick complementary colors and follow a warm-cool color tempo. By choosing a warm or cool color temperature, you can create a more elaborate palette even within color limitations. For example, we can add cool tones to warm colors and vice versa. This trick helps avoid neighboring color spots of similar temperature, preventing them from mixing together.
The next step is working with light and shadows. For NPCs, we use mildly warm overhead lighting from a slight angle. We can also add a bit of side lighting to define the character’s outline.
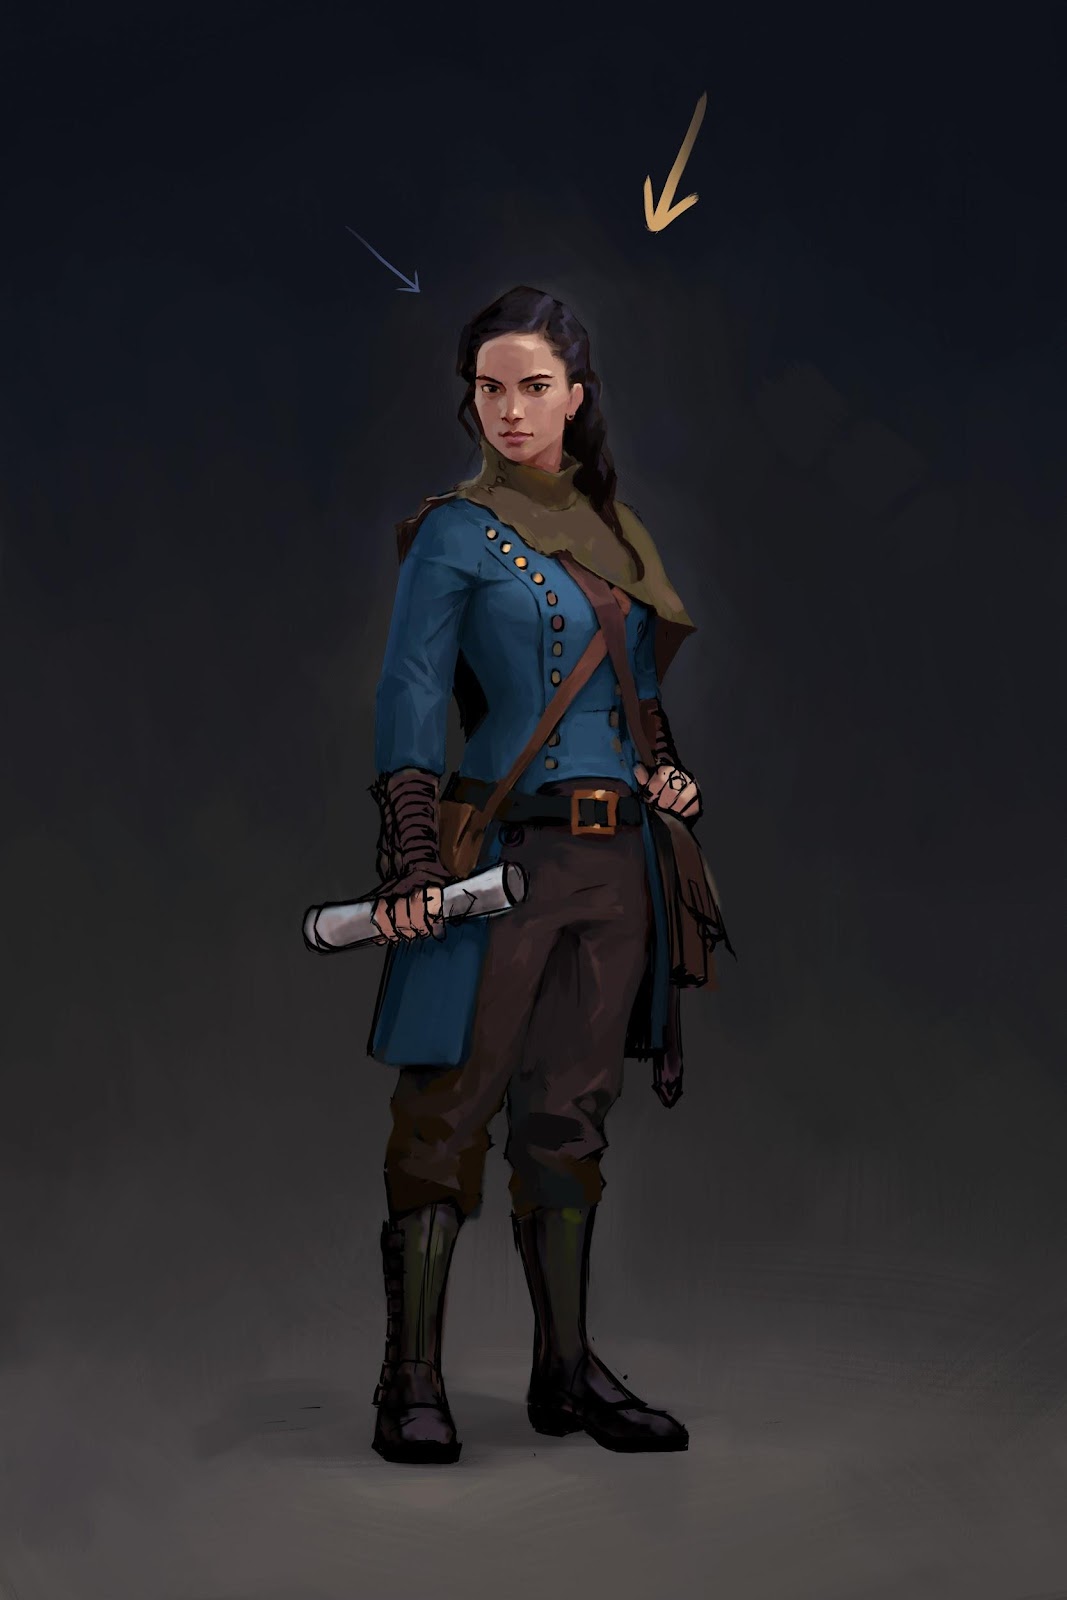
Light sources
Drawing details and finishing the artwork
After you give a character color and definition, you can start working on the details. For some artists, this is the most enjoyable part of the process, while others find it daunting. Here, you should follow a simple, but very effective rule: work from the general to the specific. Apply a grid to the canvas and spend no more than five minutes on each segment to avoid “fixating” on a detail and wasting time redrawing it.
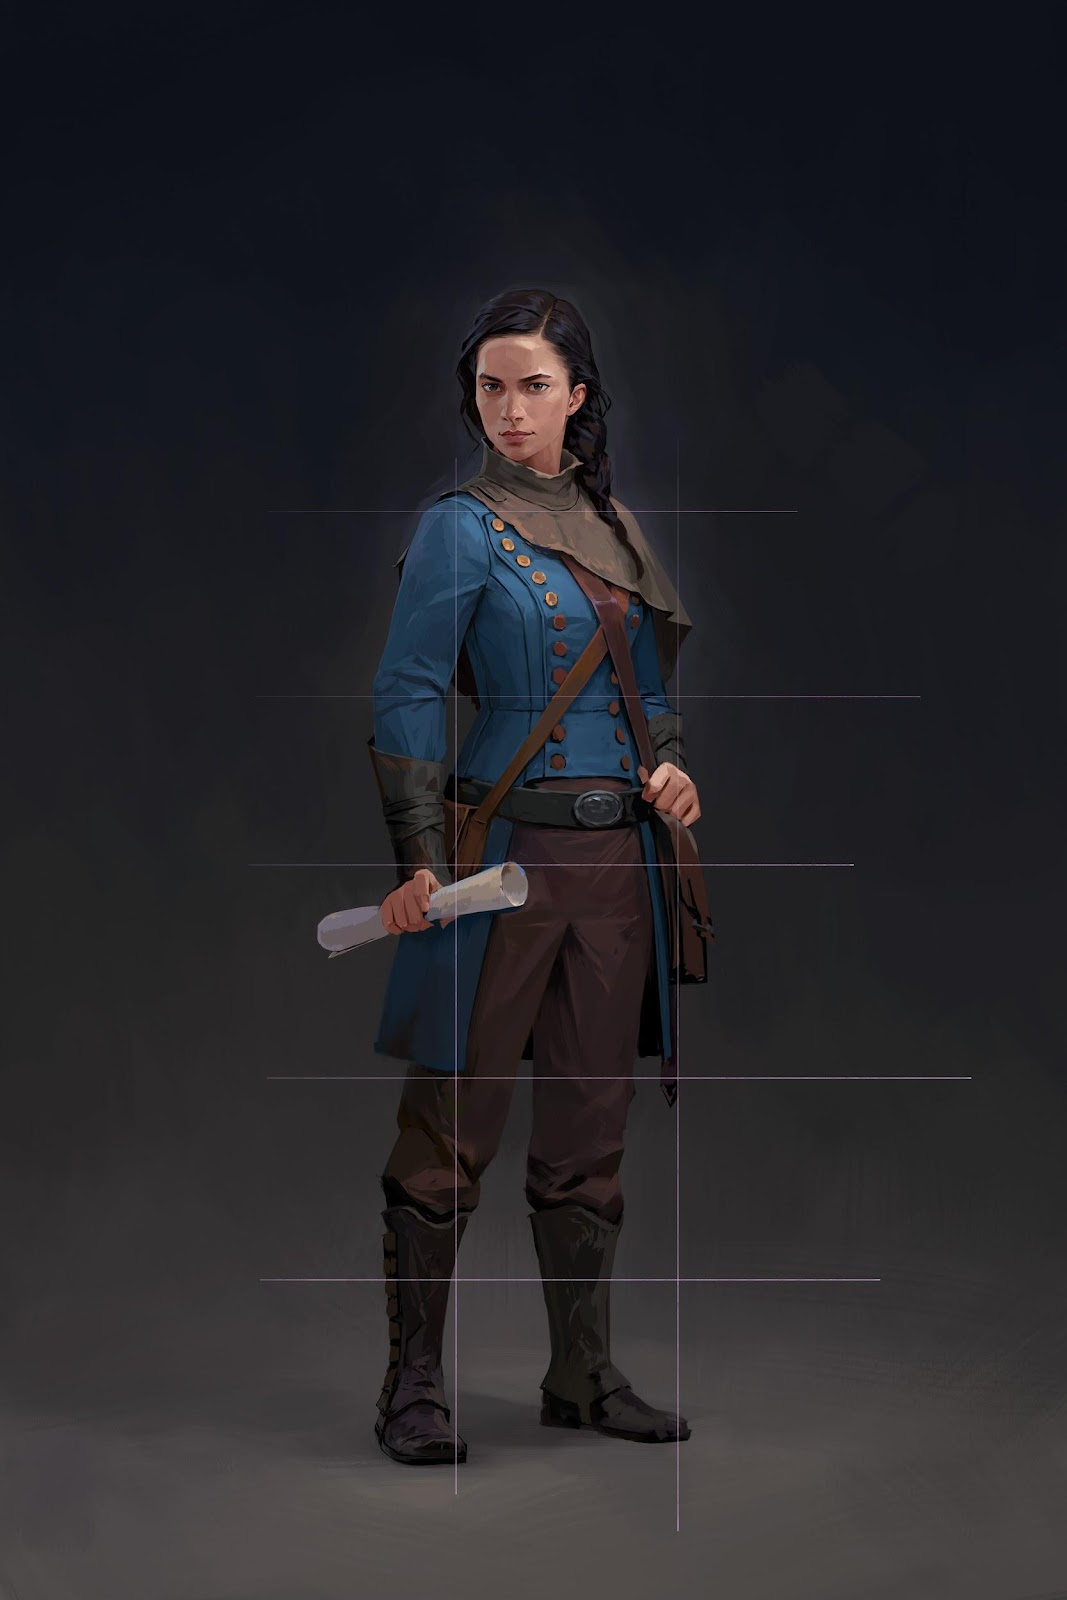
Grid
References help add the finishing touches. You can use your personal reference collection or any pictures you've taken. When a pose or gesture is especially hard to draw, you can ask a colleague to pose for you for a couple of minutes or try mimicking the pose yourself. This is much more effective than looking for a specific reference on the internet.
You can also use works by famous artists as references. Or, as our art director advises, study screenshots from movies. Next time you're watching a TV show and see well-placed and natural-looking lighting, press PrtScrn and save a screenshot. Try to avoid using pre-edited pictures as references.
Flipping your canvas horizontally and looking at the mirrored image helps you spot mistakes.
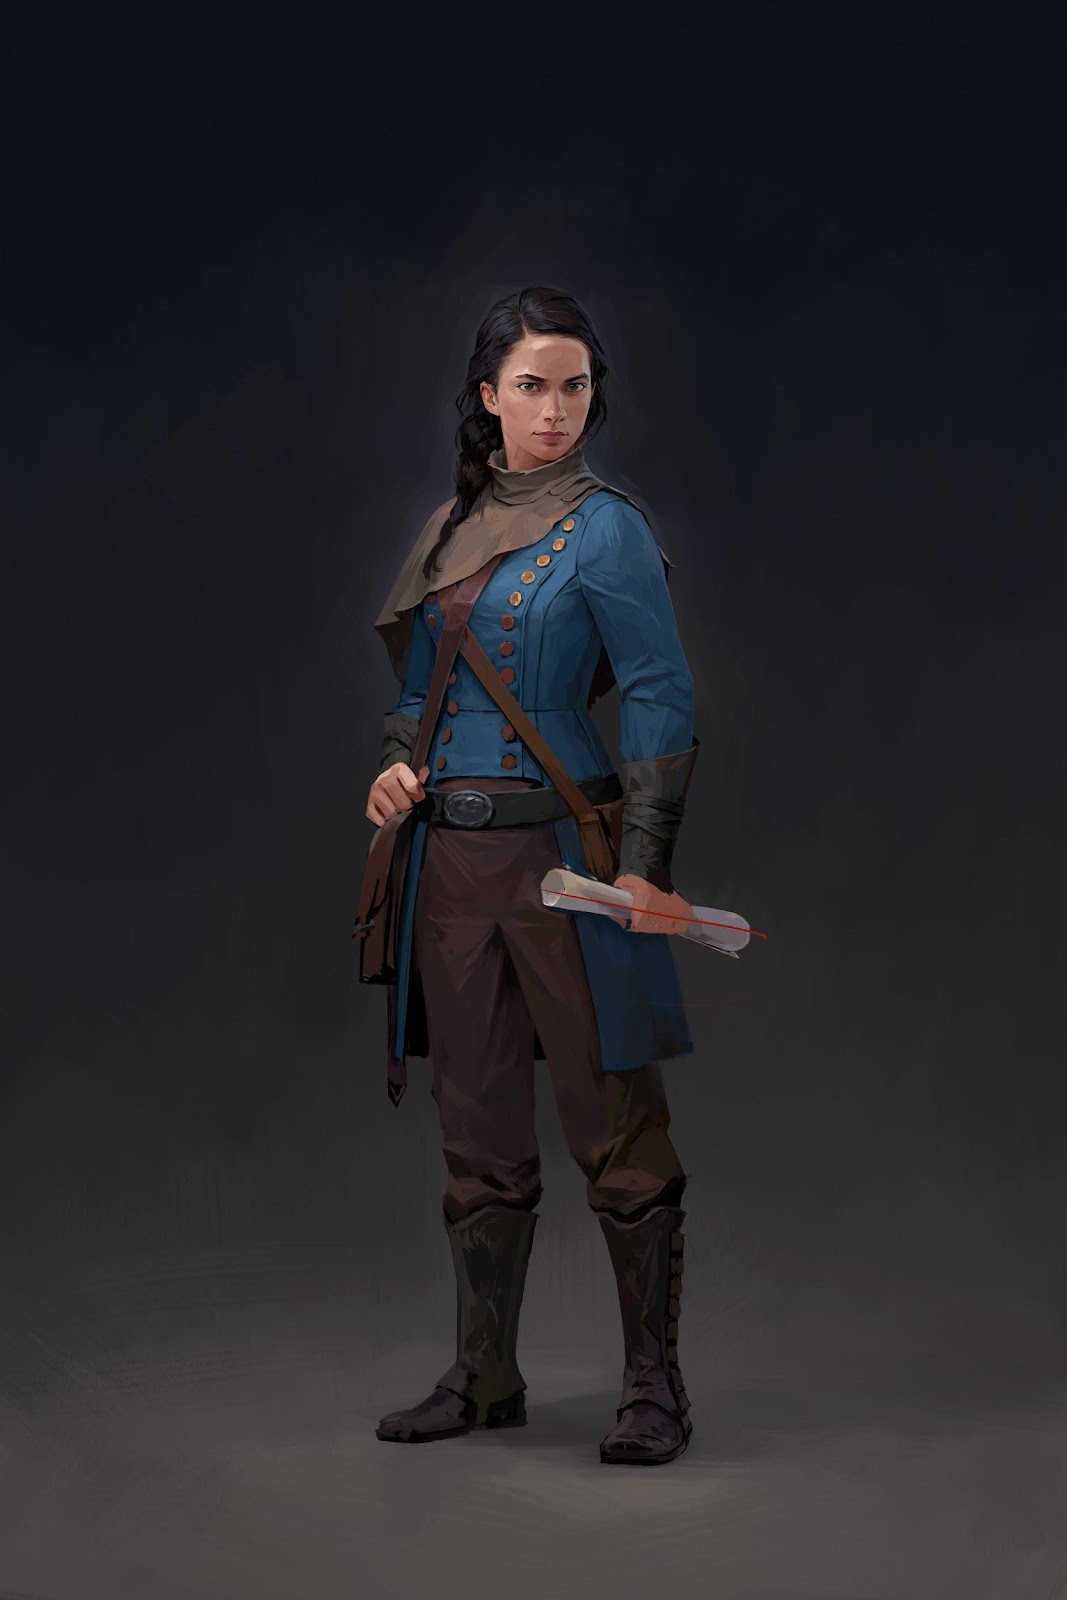
Detailing process
When the detailing is finished, we send the artwork for final approval. Then, the only thing left to do is to prepare the image for in-game implementation. Looking back at the work we’ve done, we can see that creating a character takes collective effort by a well-coordinated team of writers, game designers, producers, artists and many others. And the key to successful teamwork is reaching compromises and making mutual decisions during the whole character creation process. I hope that you found this article interesting and learned something useful from it.
If you want to create unique worlds and interesting characters with us, you can join the MYTONA team!
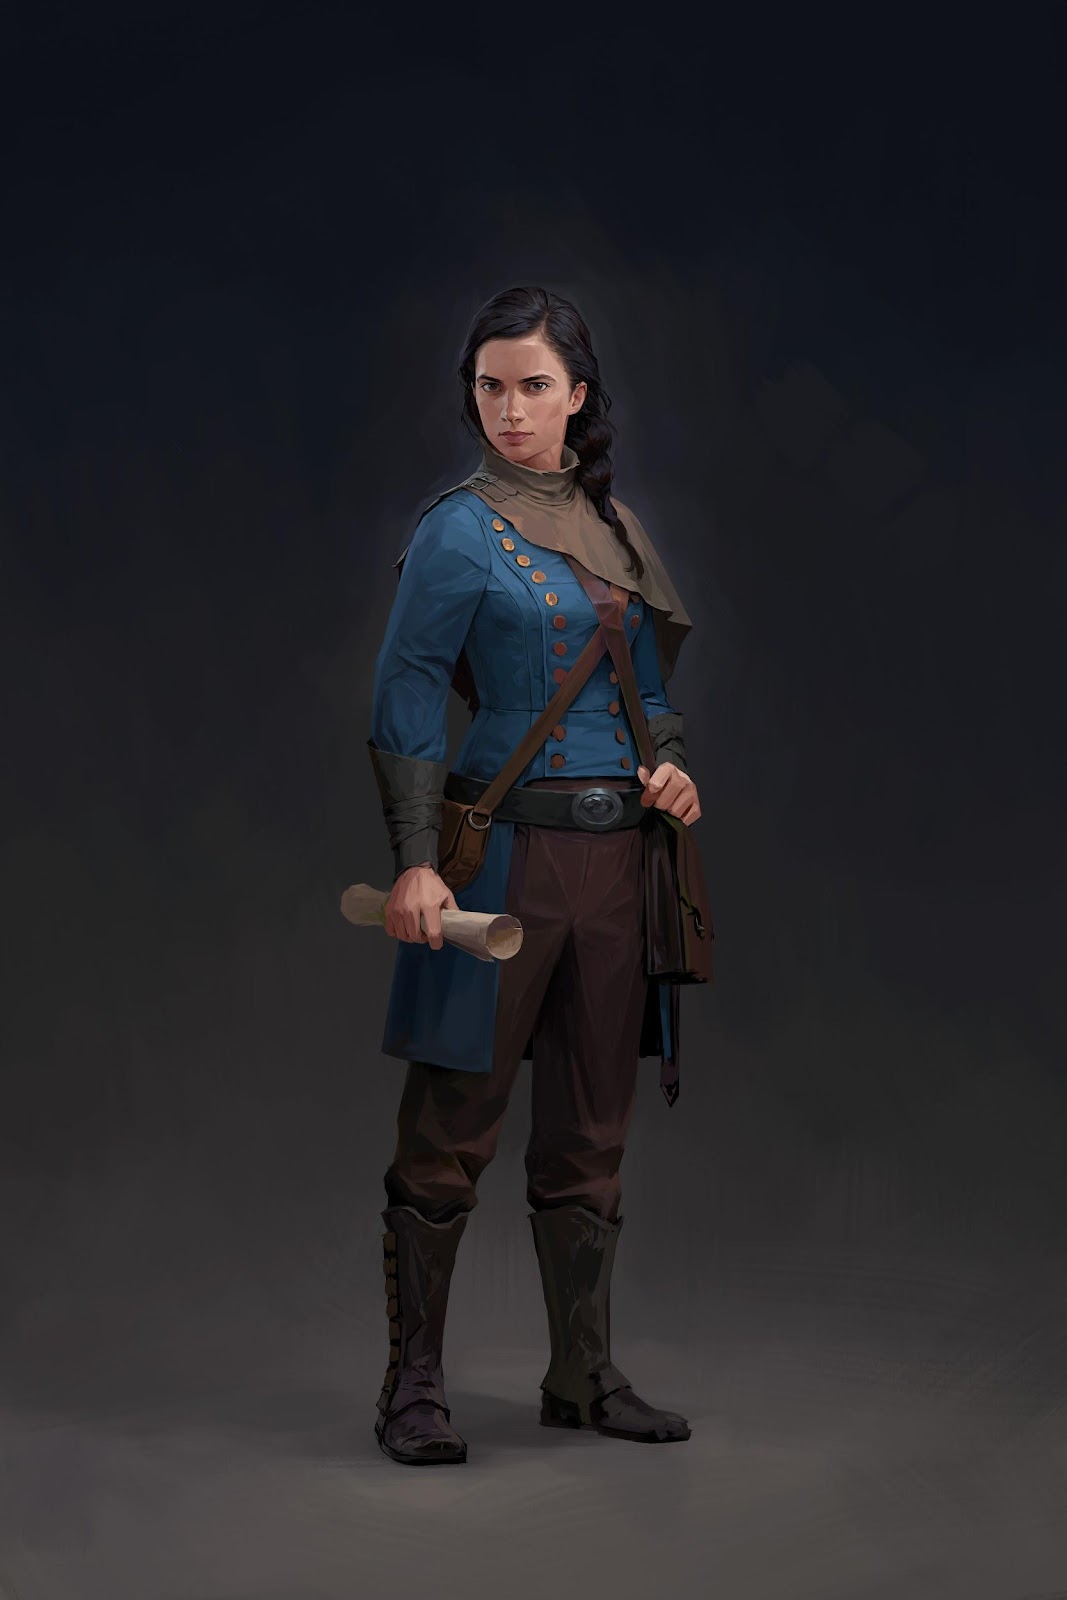
Final image
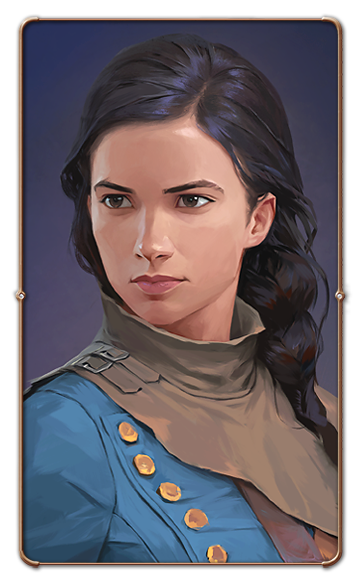
A unique avatar — a prize in a gacha event
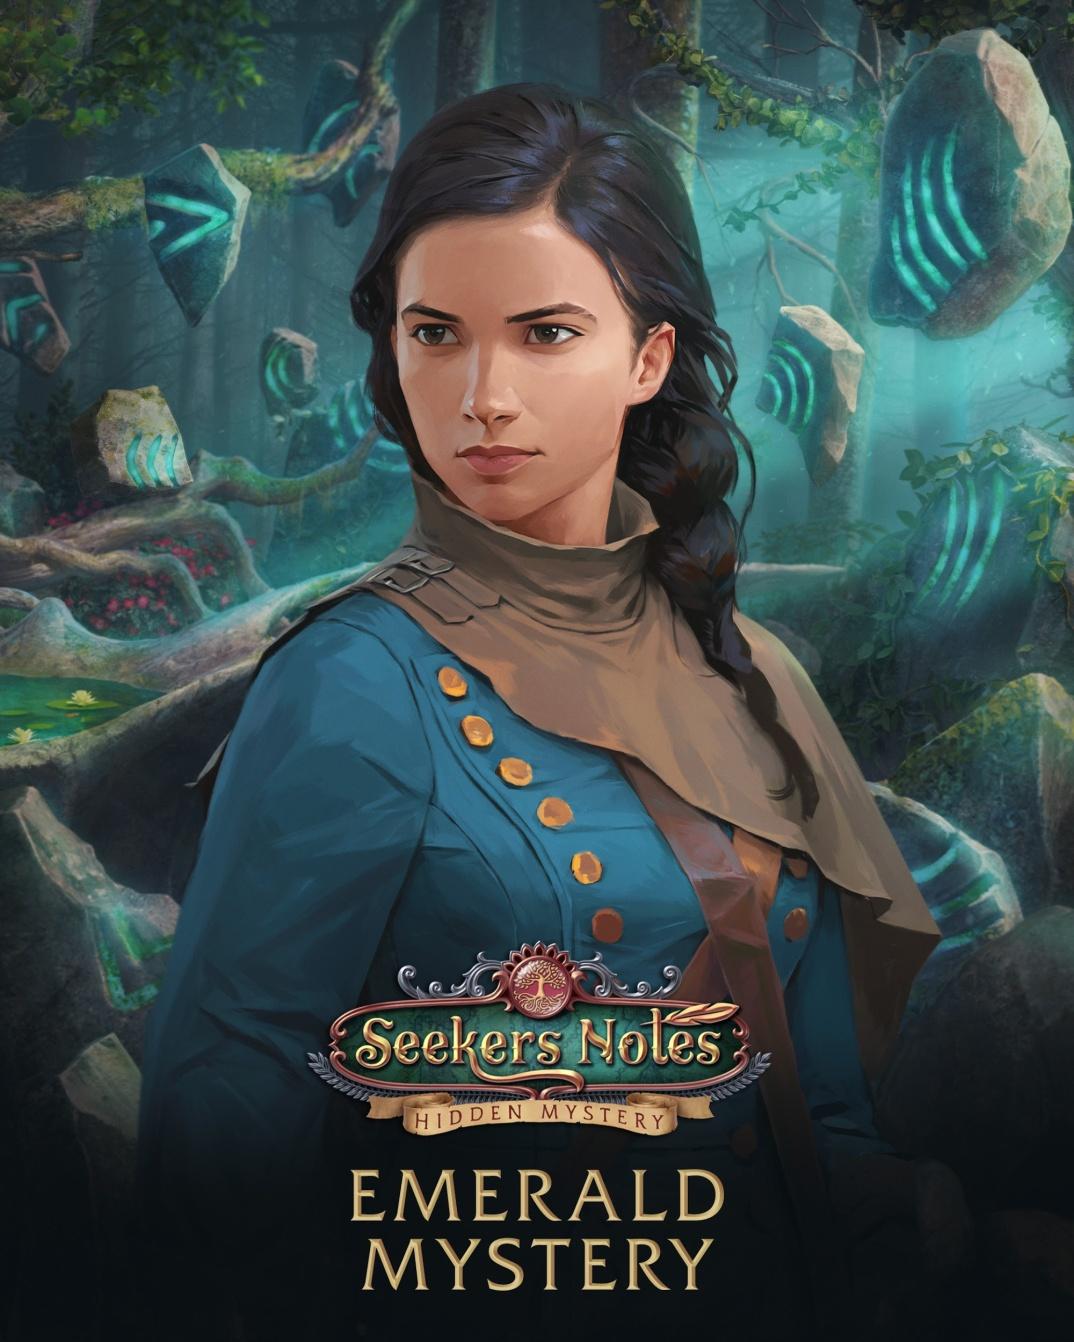
An avatar character for the Emerald Mystery micro-event